2022年3月から、LINEモバイルユーザー限定の「1年間ずーっと割引!」キャンペーンが始まったので早速乗り換えることにしました。
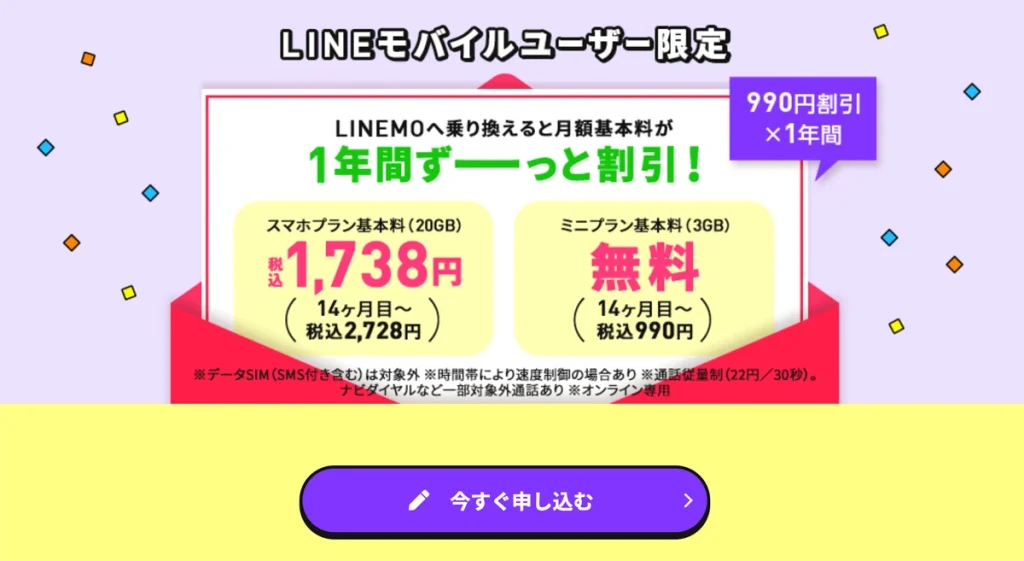
LINEモバイルのままでもそれほど支障はなかったですが、ミニプランは1年間無料は魅力的ですよ!
順番に説明していきますね!
途中エラーになってしまった箇所もありました。そこも記載していますので参考になるかもしれません。
LINEモバイル側でMNP転入手続きの申し込み


マイページ中段付近にある「他社へ乗り換え(MNP転出)」をタップ
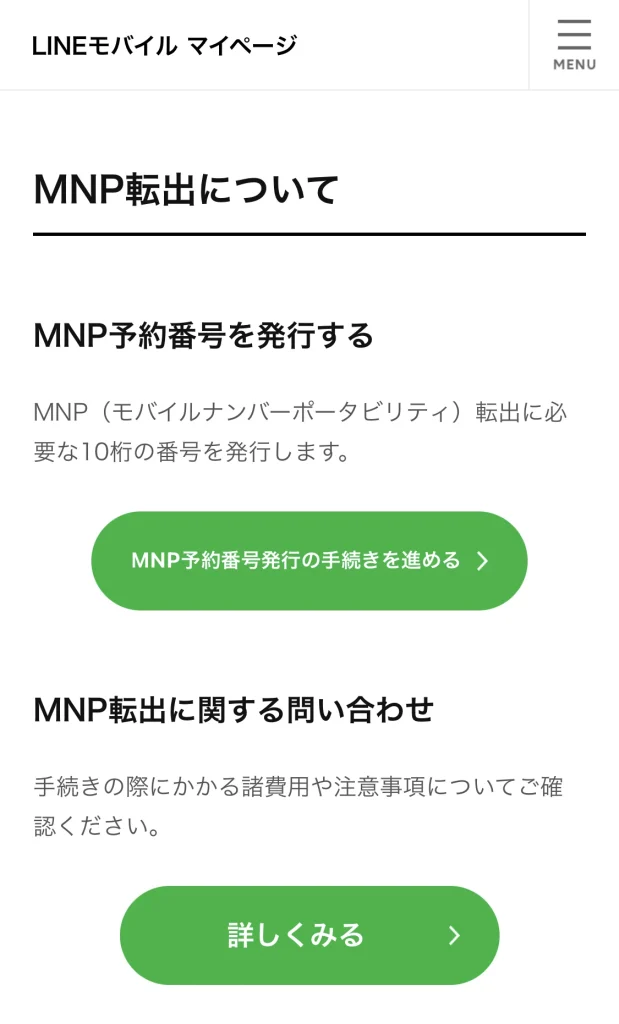
「MNP予約番号発行の手続きを進める」をタップ
縦に長いので横に表示しています。
注意事項とMNP転出の流れを読んでから「上記の解約時の注意事項を確認しました」にチェックを入れてから、「MNP予約番号発行の手続きを進める」をタップ
縦に長いので横に表示しています。
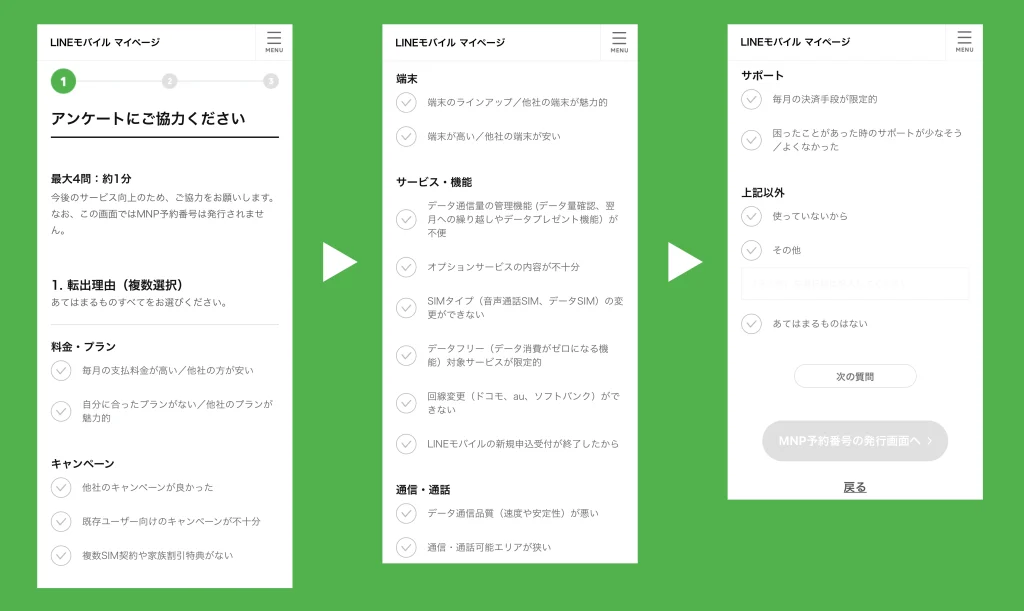
アンケートが表示されるので、該当するものにチェックを入れていきます。
※チェックを入れると「次の質問」をタップできるようになります。
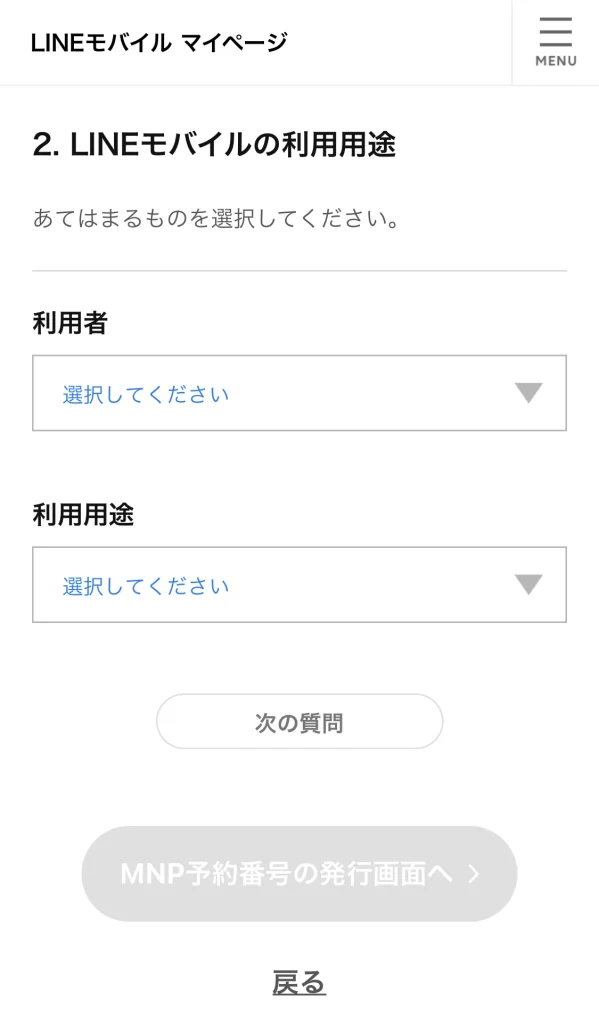
「利用者」と「利用用途」を選択します。
※チェックを入れると「次の質問」をタップできるようになります。
縦に長いので横に表示しています。
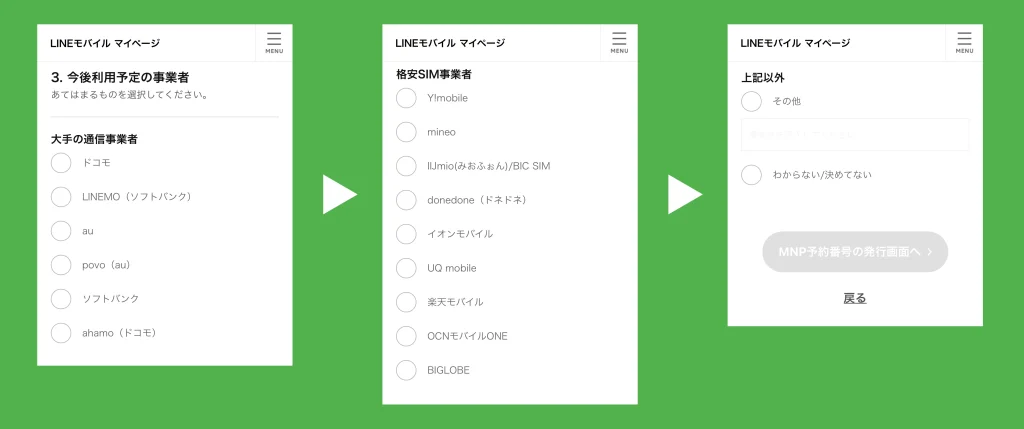
利用予定の事業者を選択します。
※チェックを入れると「MNP予約番号発行の発行画面へ」をタップできるようになります。
縦に長いので横に表示しています。
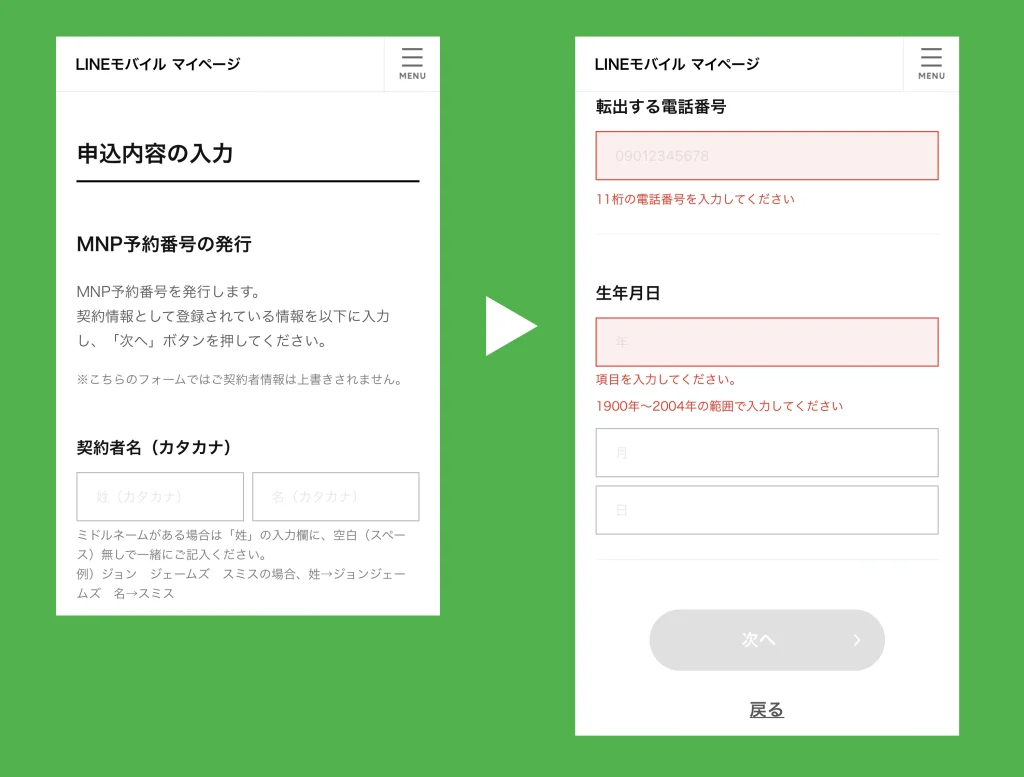
「契約者名」「転出する電話番号」「生年月日」を入力後に「次へ」をタップ
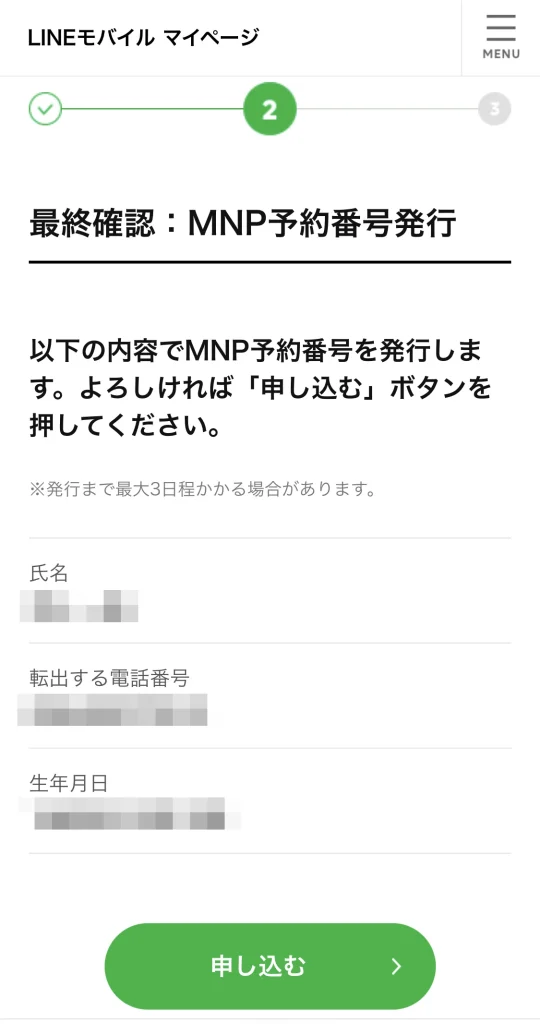
「申し込む」をタップ
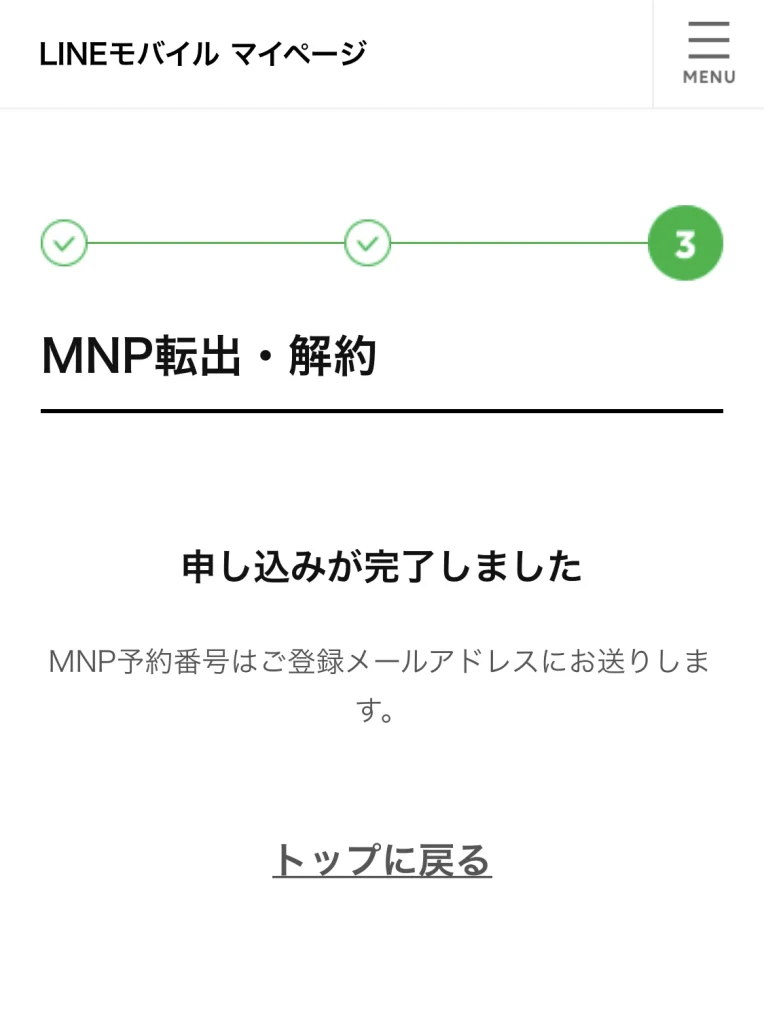
以上で申し込みが完了しました。
MNP予約番号が登録メールに届くまで待ちましょう。
予約番号が届いてからの作業
次にメールで予約番号が届いてからの作業の順番です。
※今回はeSIMにしたいのでiPhone 12 miniで操作しています。
※eSIMの場合はスマホからしか申し込みできません。
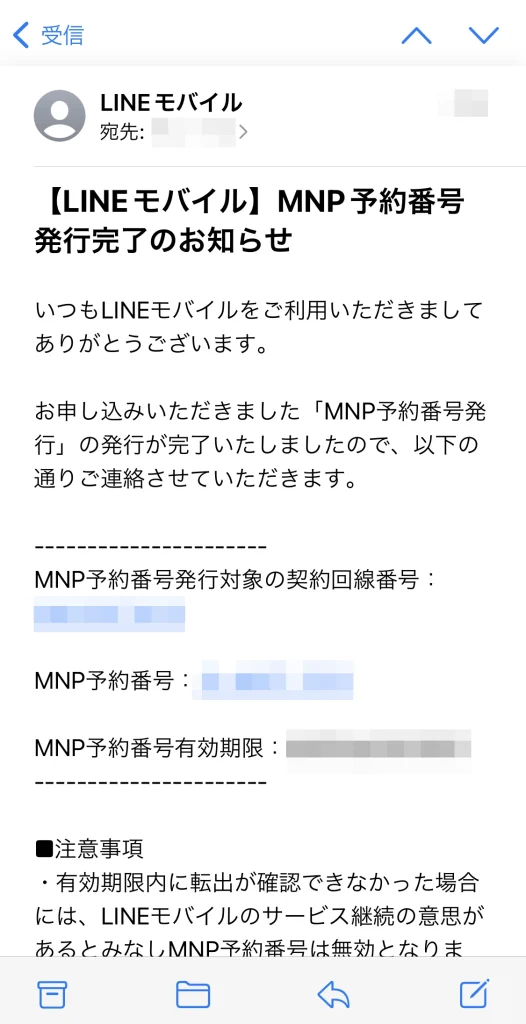
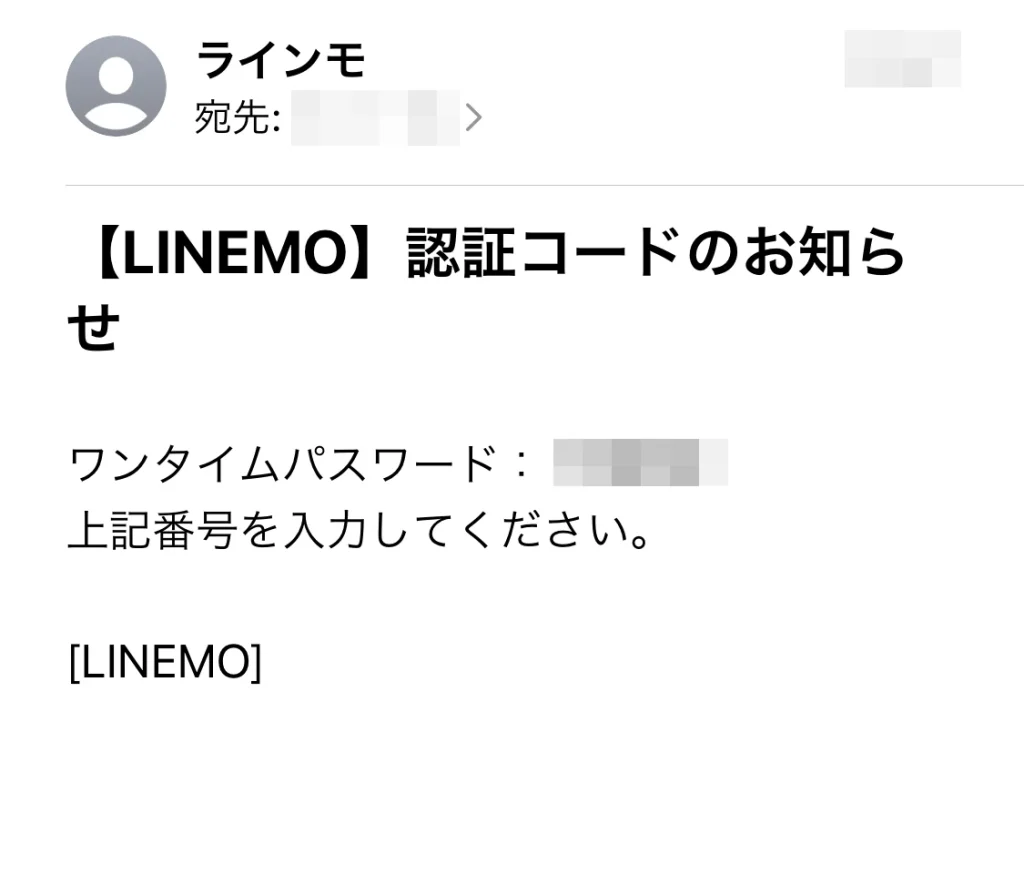
このようなメールが届いているので予約番号を確認します。
LINEを立ち上げてトークからLINEモバイルをタップ
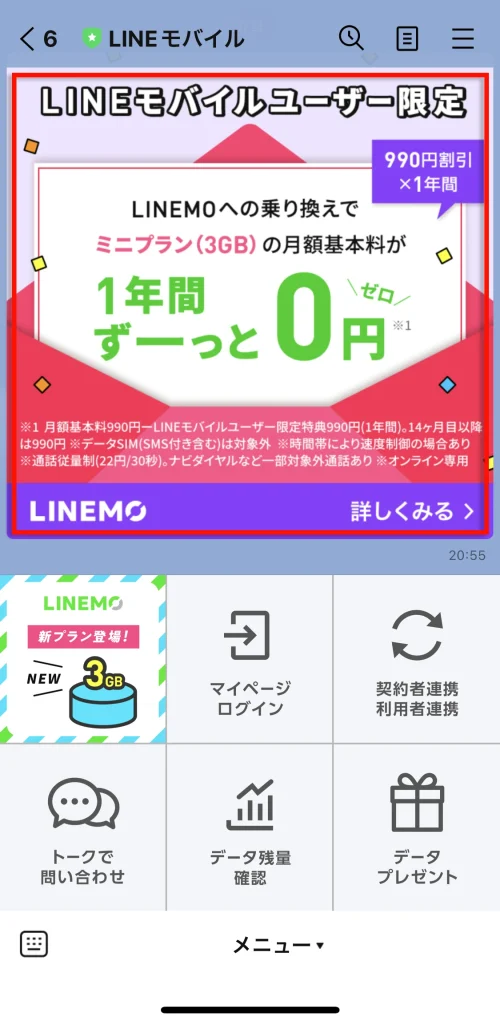
画面に表示されている「詳しくみる」(赤枠箇所)のバナーををタップ
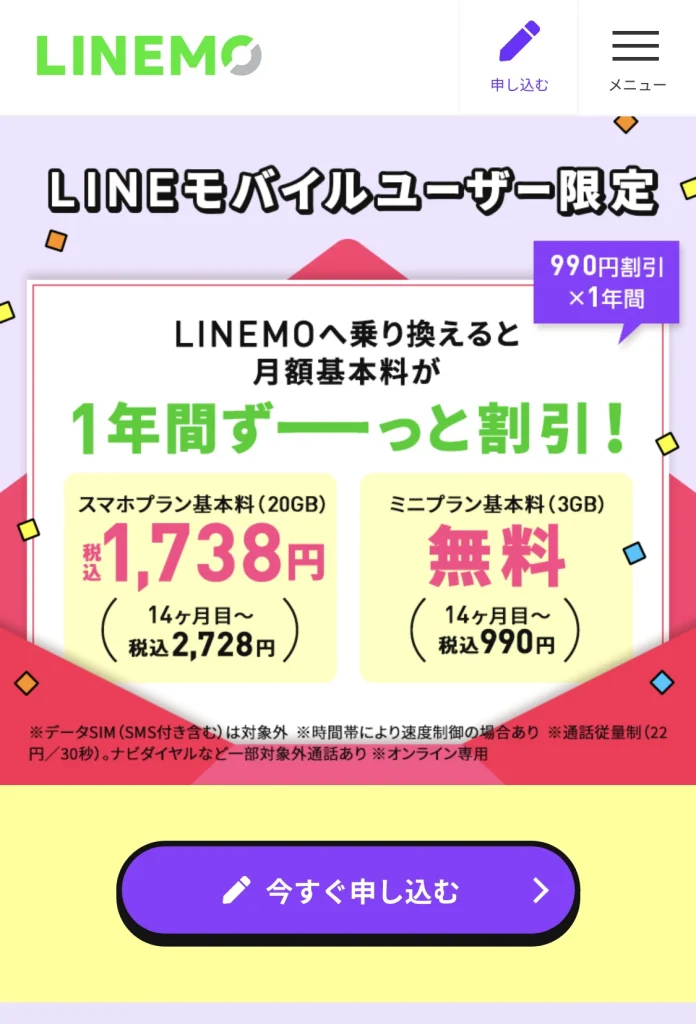
「今すぐ申し込む」をタップ
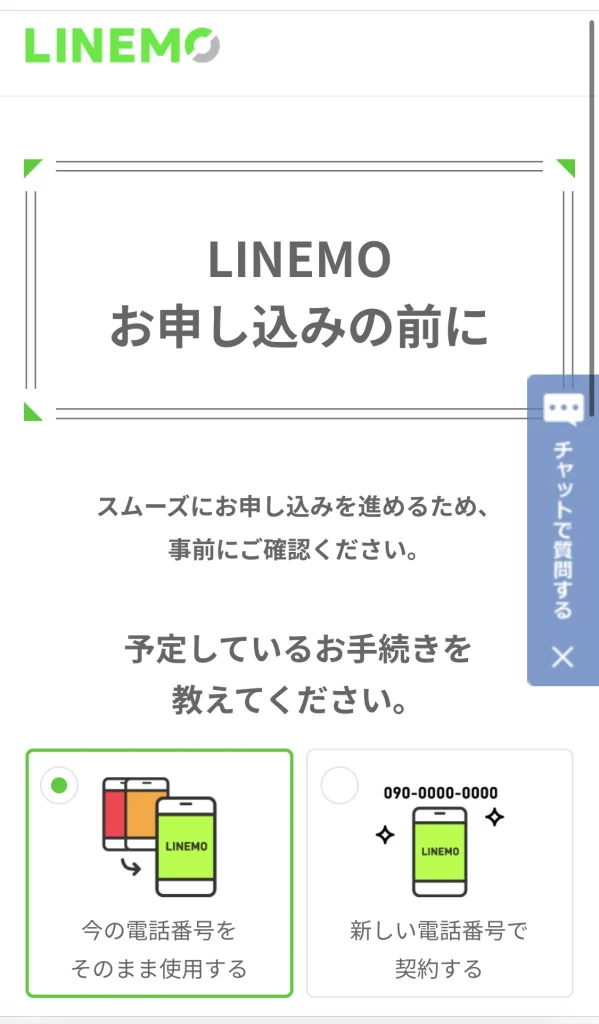
MNPなので「今の電話番号をそのまま使用する」を選択
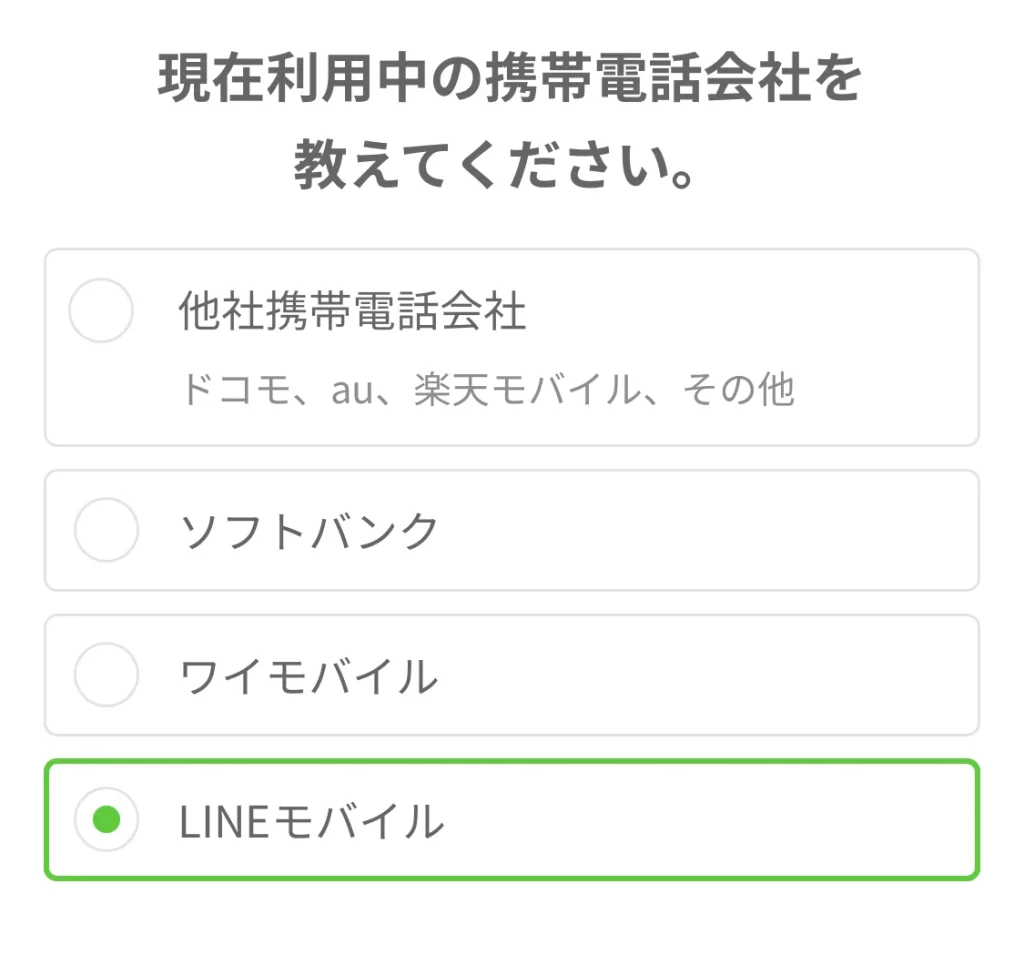
今回はLINEモバイルからなので「LINEモバイル」を選択
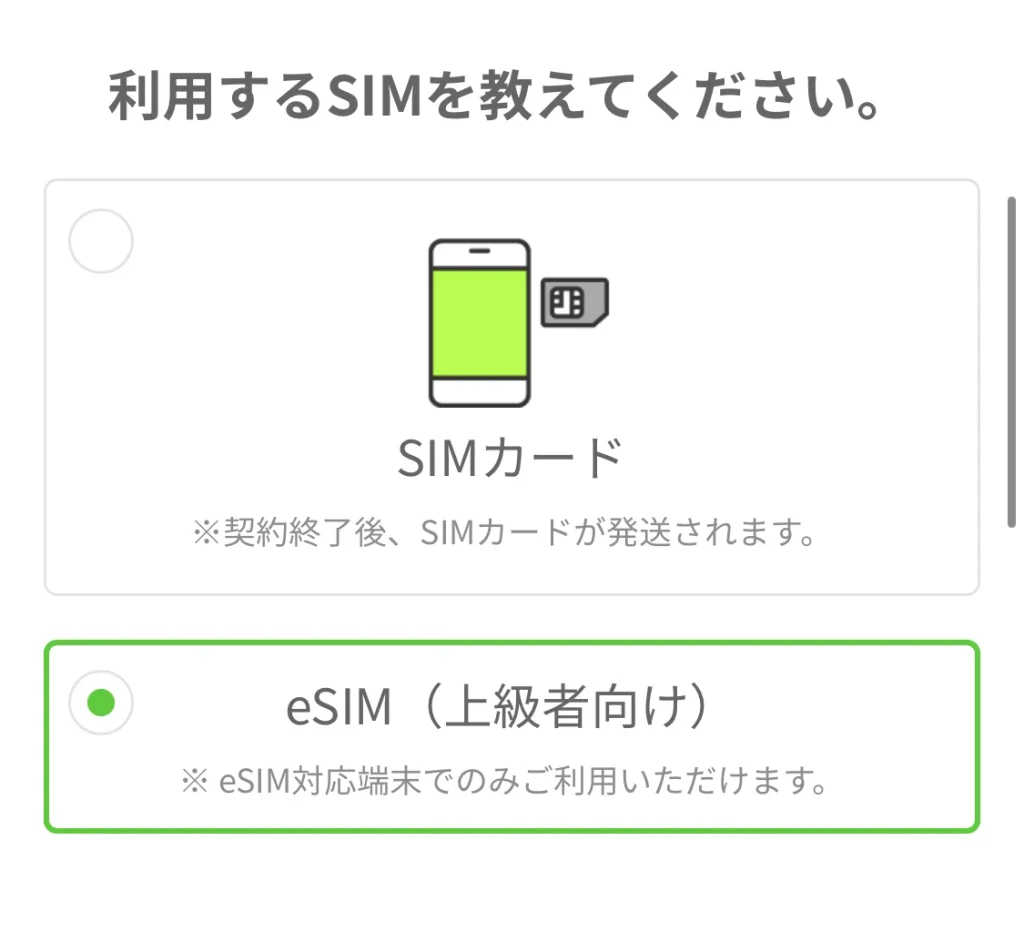
「SIM」か「eSIM」から選ぶことができます。※eSIM対応機種のみ
eSIMを選択すると下記のようなアラートが表示されます
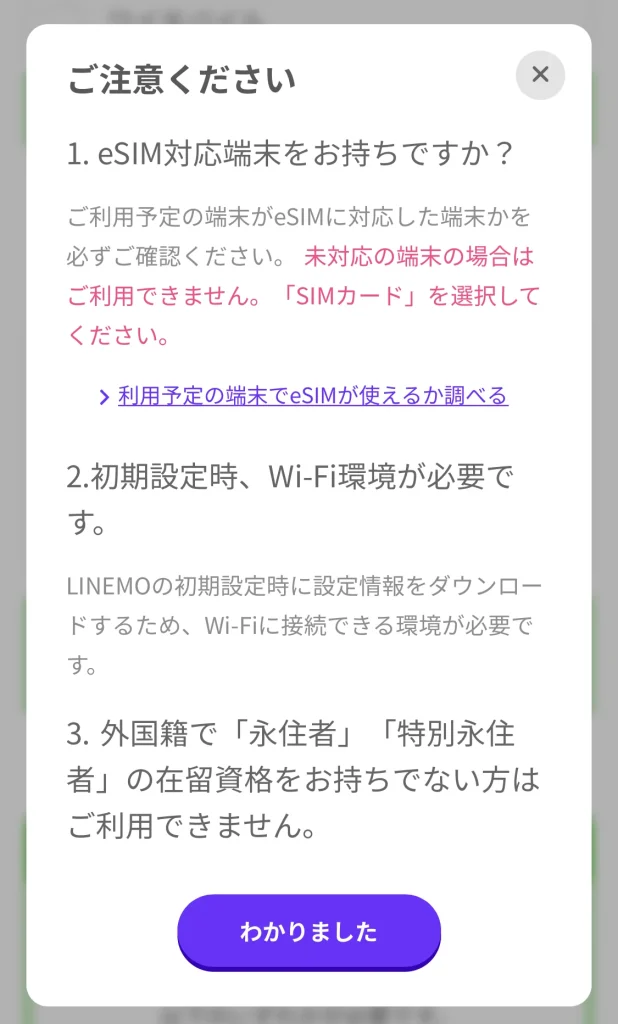
必ず確認しましょう。
縦に長いので横に表示しています。
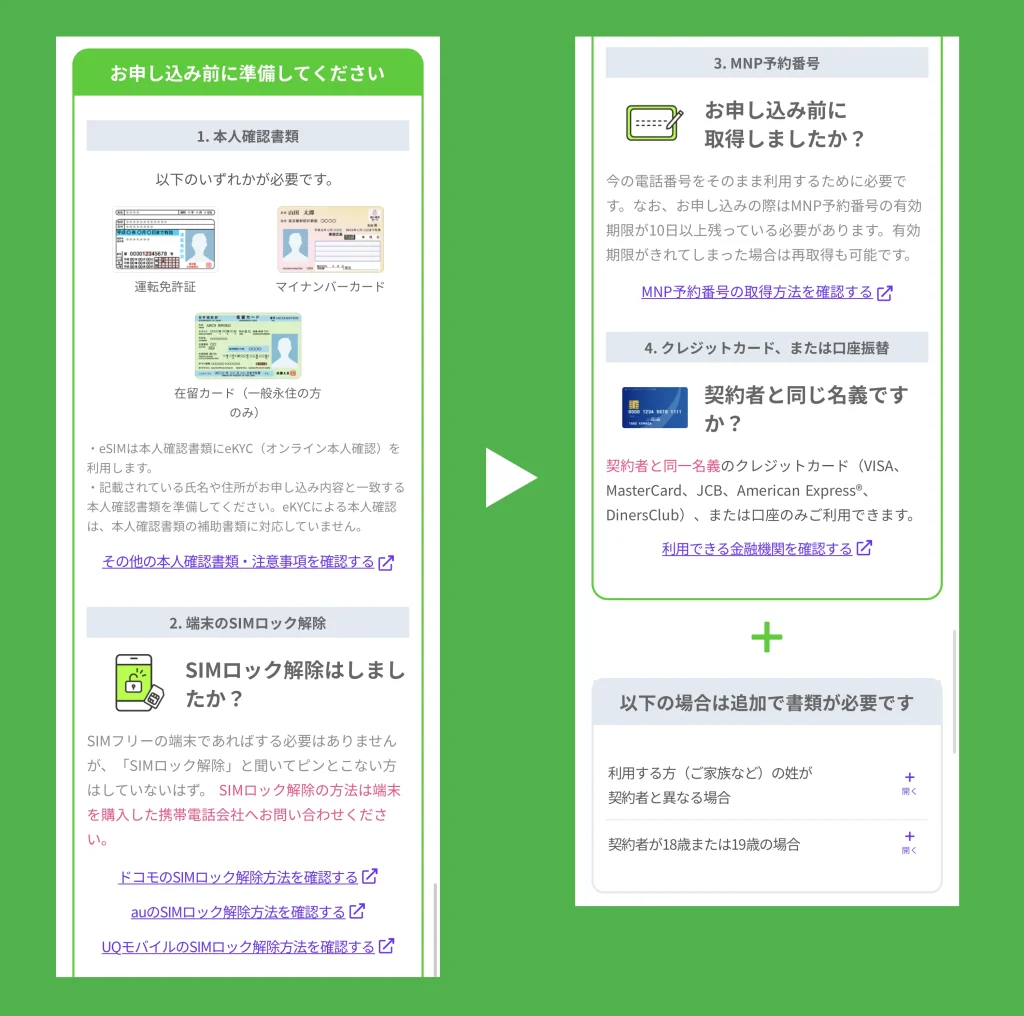
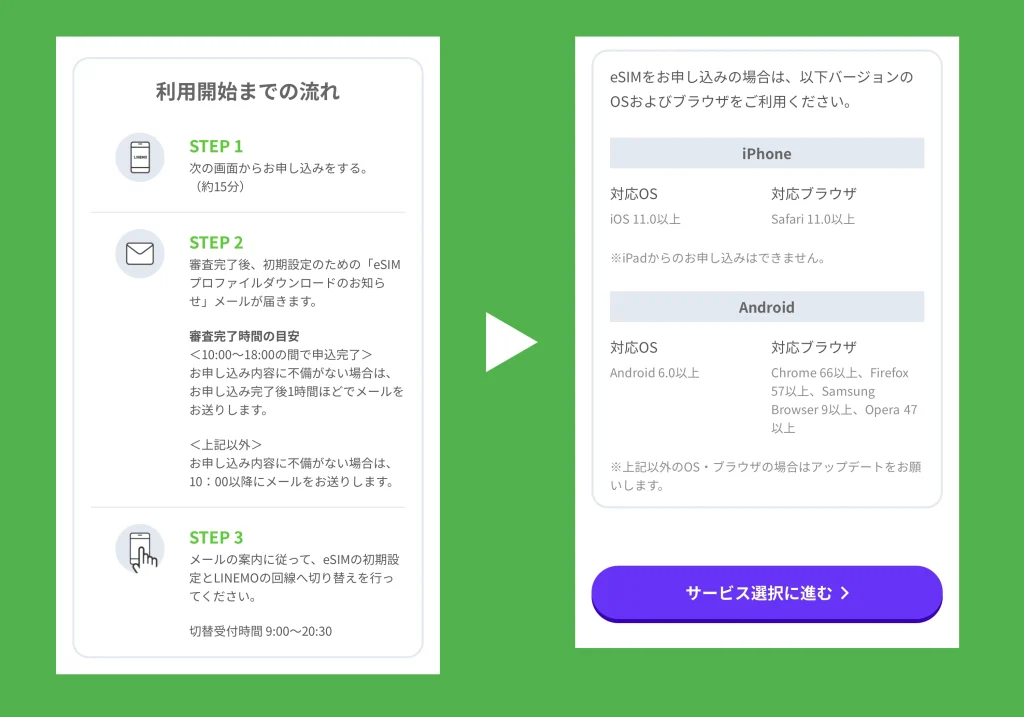
確認したら「サービス選択に進む」をタップ
ここまでで事前準備が終わりです。
プランの登録から申込完了まで
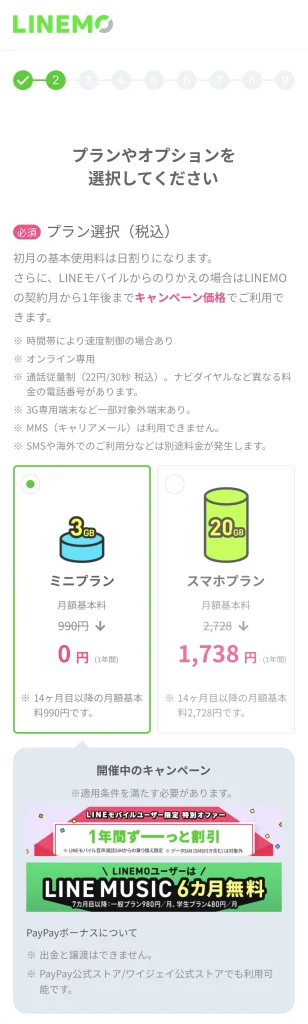
僕はそれほど使わないので「ミニプラン」を選択しました。
 けー
けー1年間0円ですよ!
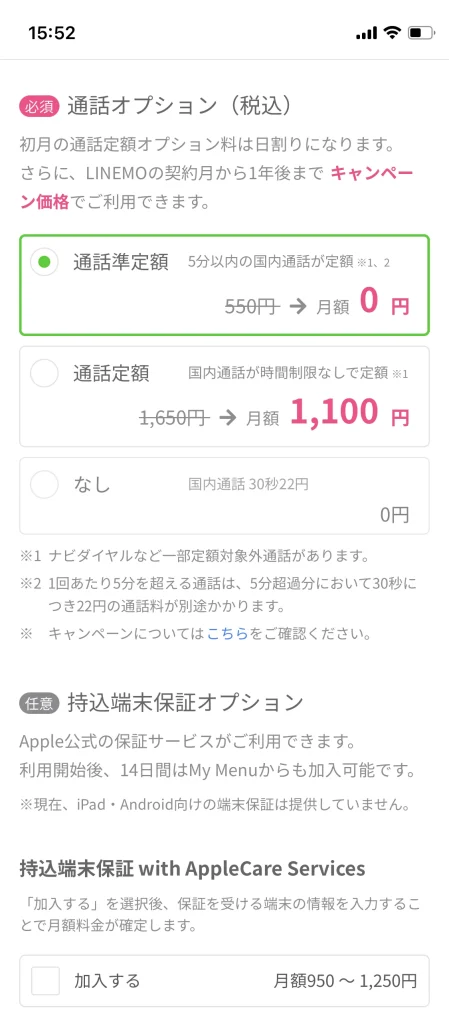
通話オプションは「通話準定額」にしました。
電話をすることもほぼないので、なしでも良かったのですが「今なら1年間0円」なので!
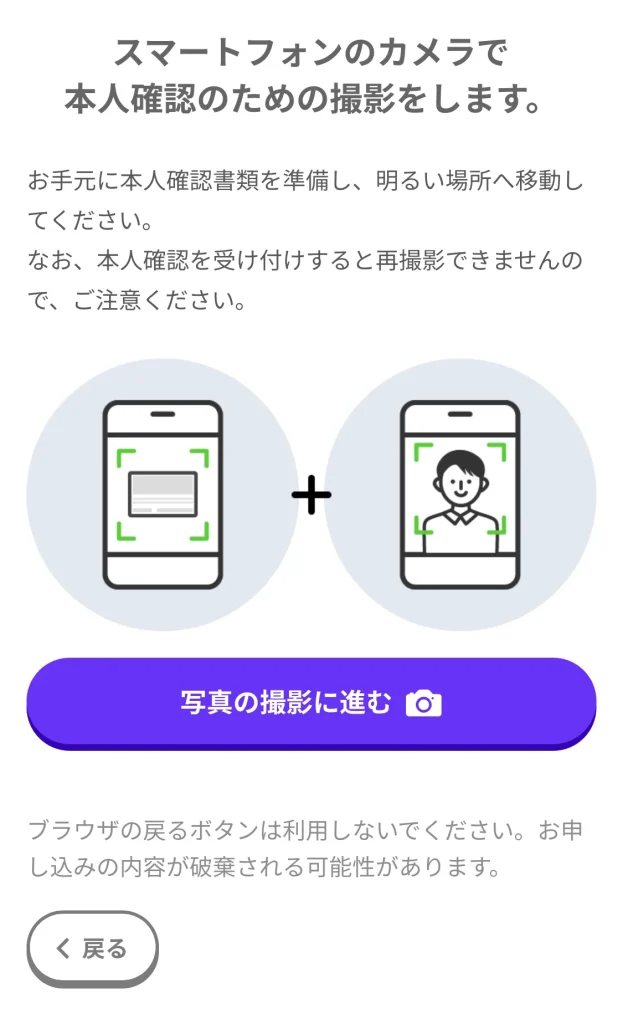
次に写真撮影に進みます。
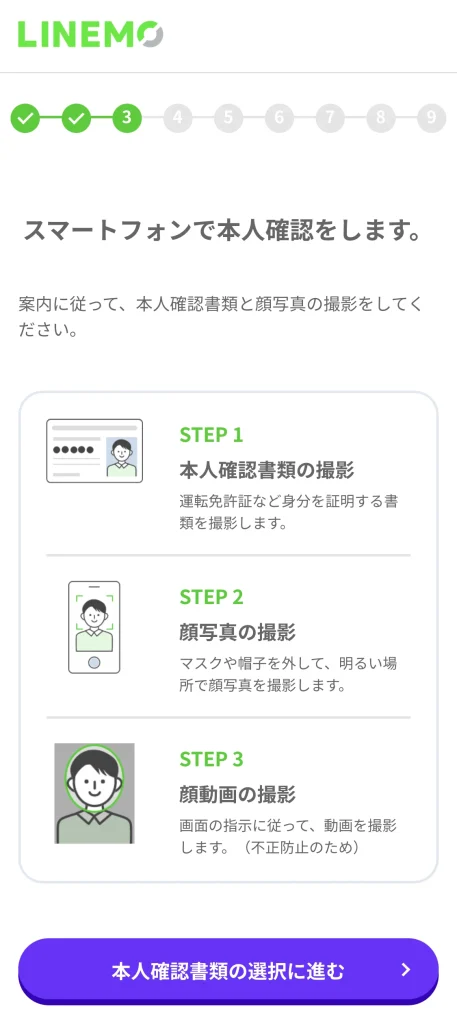
「本人確認書類の選択に進む」をタップ
本人確認書類を選ぶ
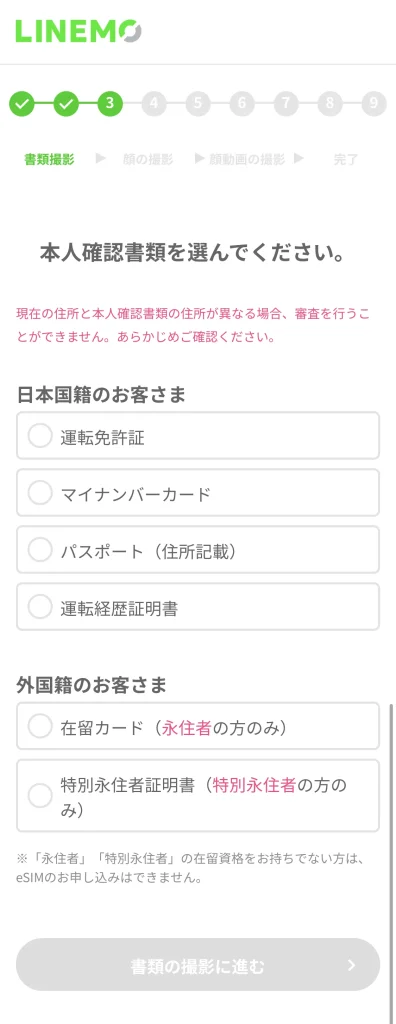
私は運転免許証にしました。(選択するとボタンが押せるようになります)
「書類の撮影に進む」をタップ
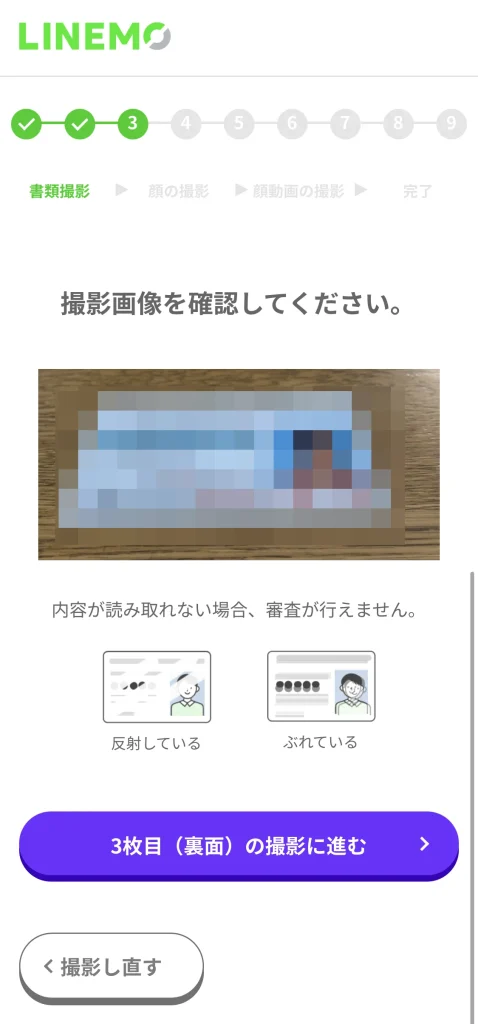
書類の撮影
表面(正面)、表面(斜め)、裏面の3枚を撮影になります。
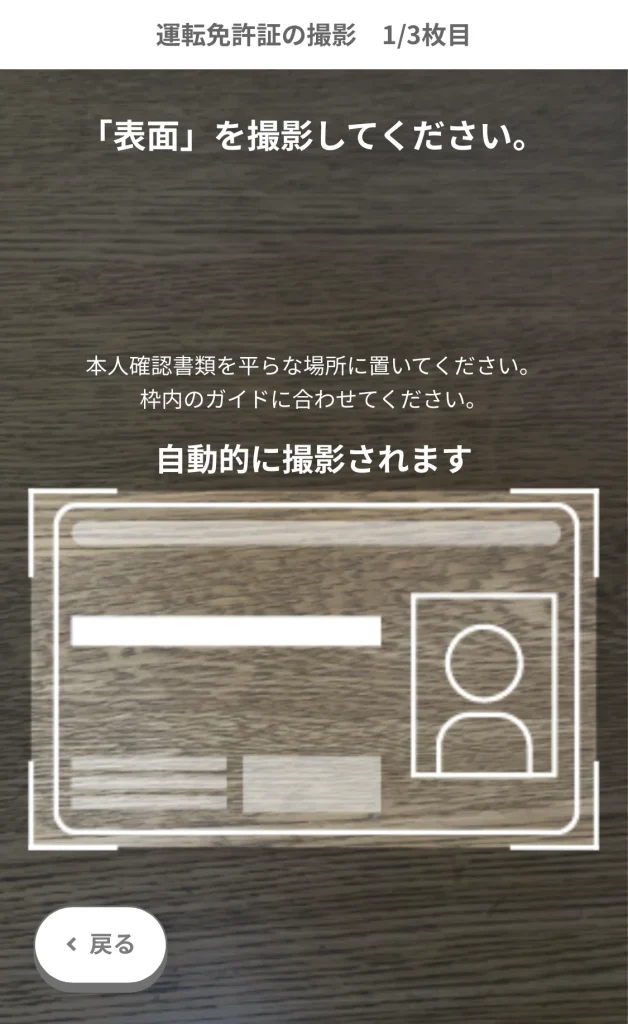
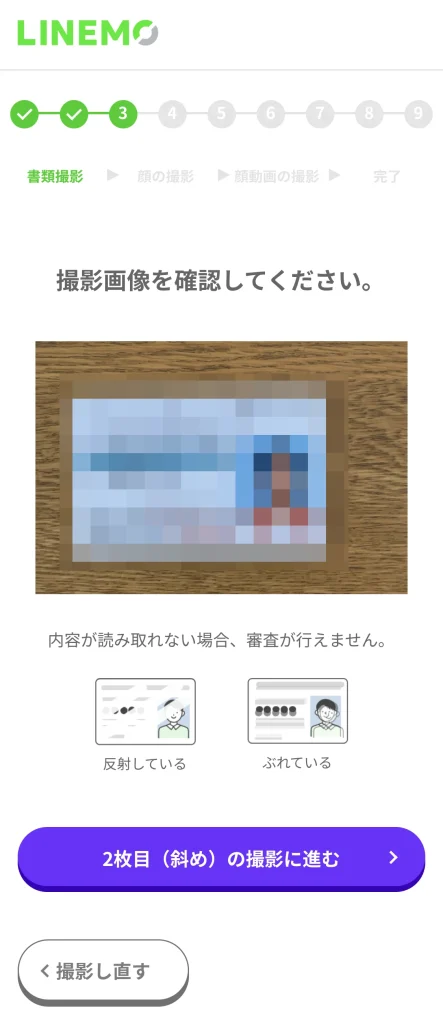
運転免許証を置くと自動で撮影されます。
次に斜めからの撮影。
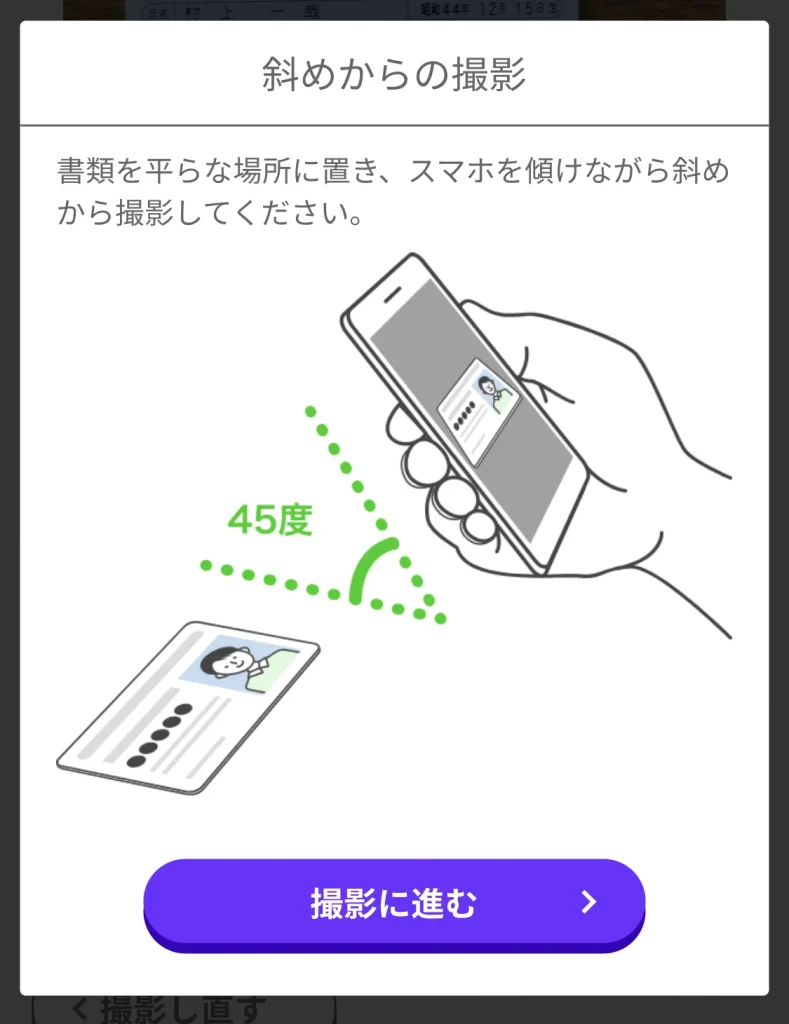
「撮影に進む」をタップ
次に裏面
正面同様に置くと撮影されます。
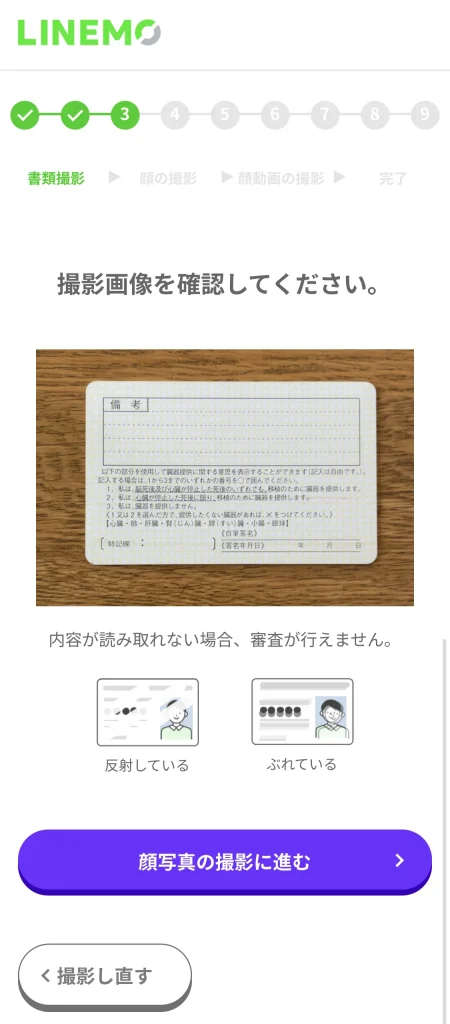
これで運転免許証の撮影は終わりです。
顔写真の撮影
次は顔写真の撮影です。
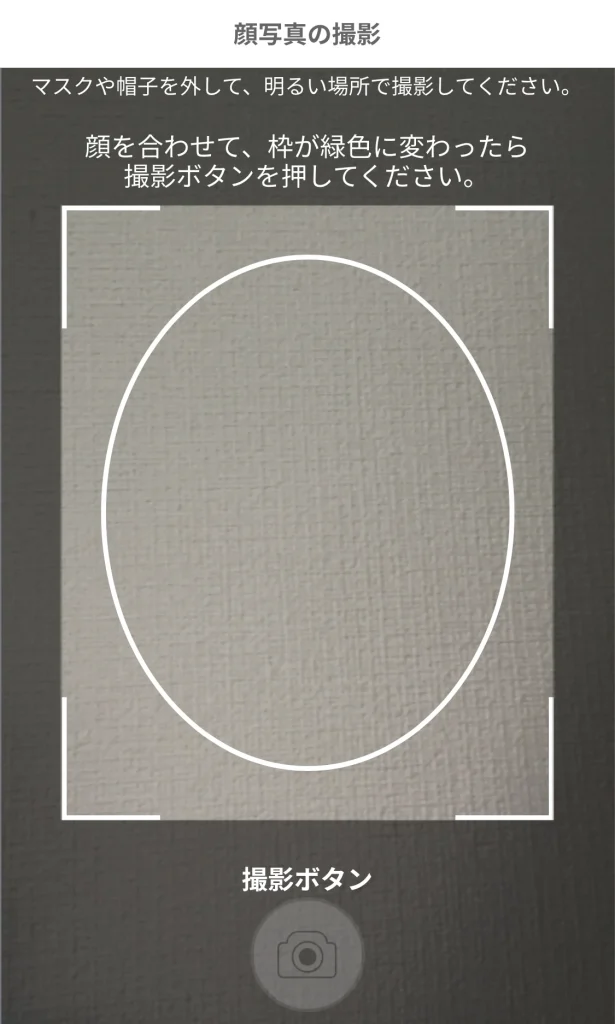
楕円の中心に顔を合わせて撮影ボタンを押します。
証明写真のように残るものではないのでサクッと撮ってしまいましょう。
次に動画の撮影です。
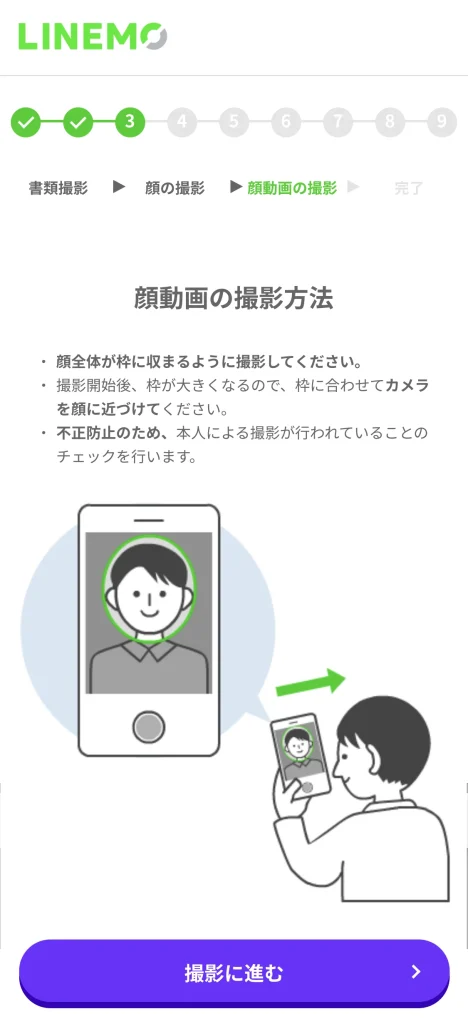
ちょっとわかりにくいですが、画面に表示されるとおりに操作すればOK!

「開始する」をタップ
少し待つと本人確認の受け付けが終了します。
「次へ進む」をタップ
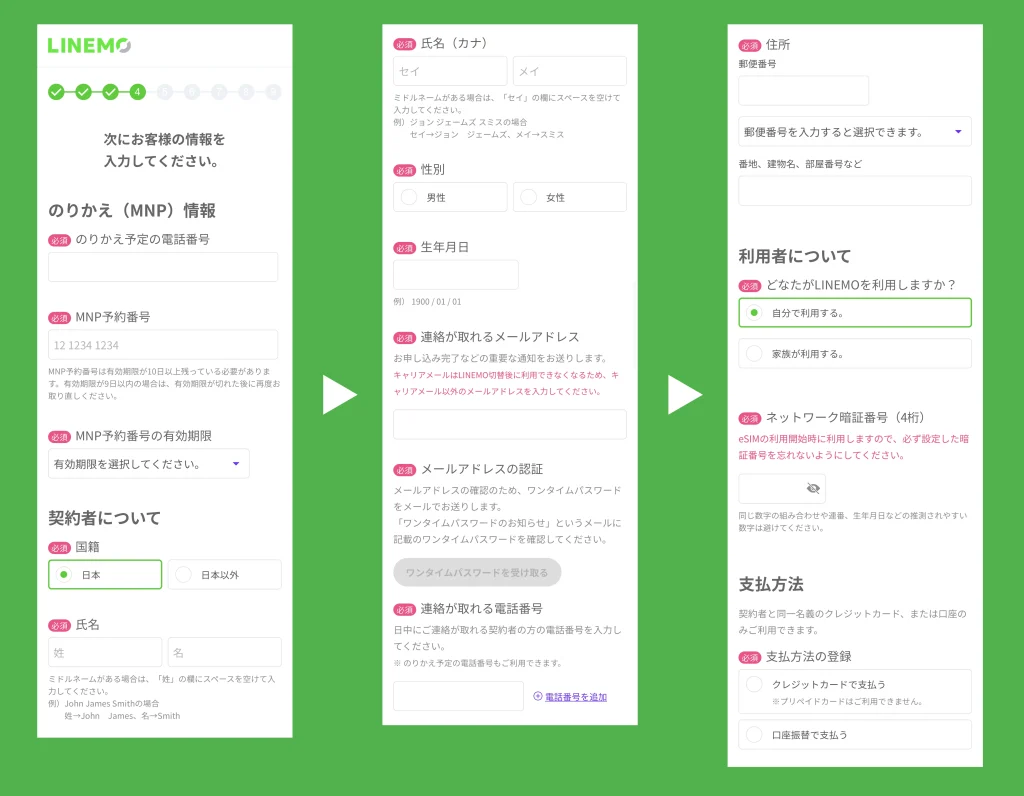
かなり項目が多いですが順番に入力していきます。
すべて入力したら「申し込み内容の確認に進む」がタップできるようになるので進みます。
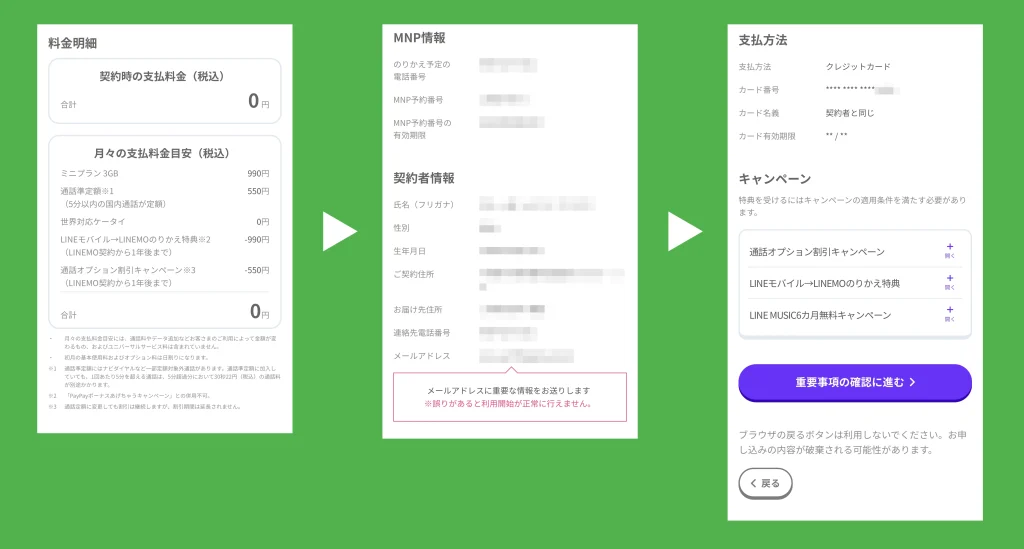
確認して問題がなければ「重要事項の確認に進む」をタップ
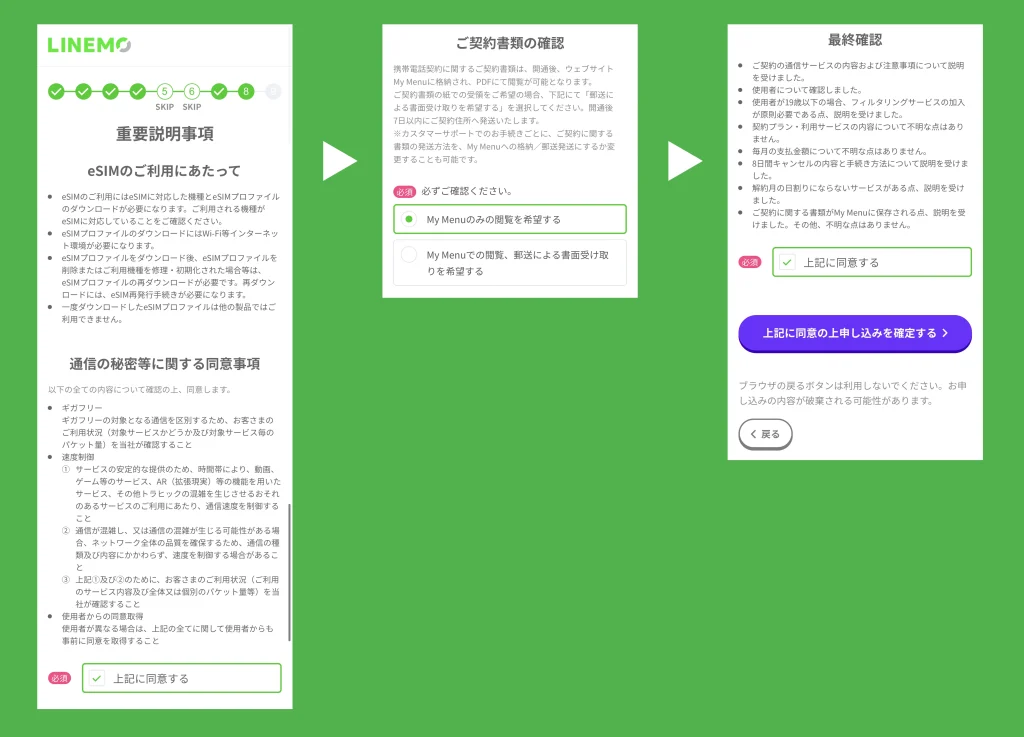
すべての項目にチェックを入れて「上記に同意の上申し込み確認を確定する」をタップ
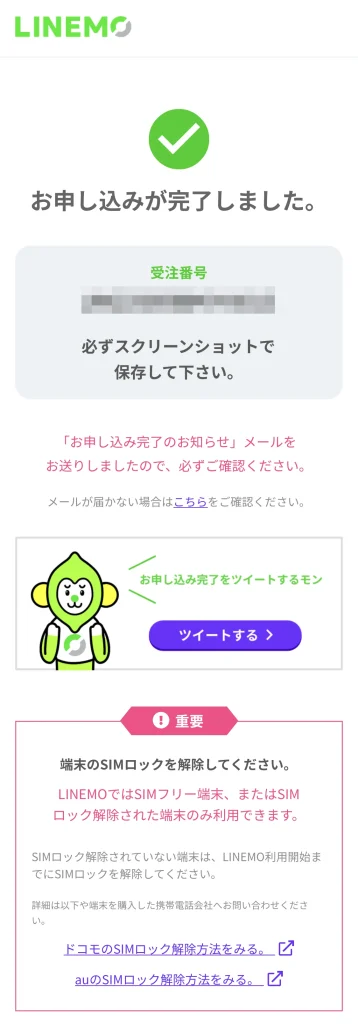
申し込み完了画面です。
メールを送ったとのことなので、早速メールを確認しましょう。
無事に届いていました!
これで申し込みが完了しました。
eSIMの設定
しばらくすると手続き完了メールが届きます。(僕は1時間ほどでした)
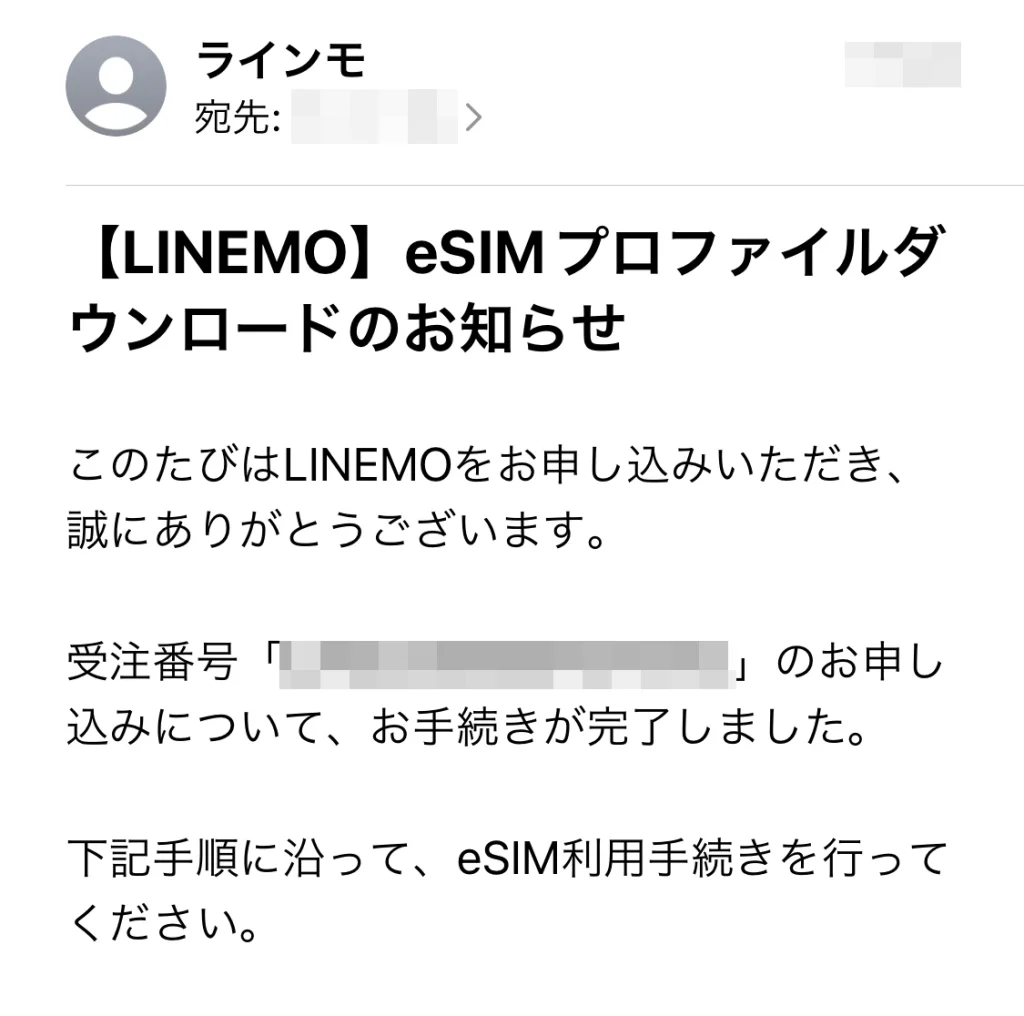
「下記手順に沿って」とあるので確認します。
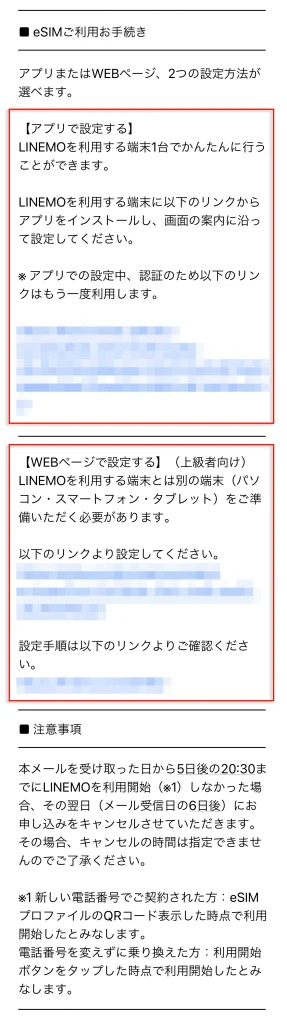
- 【アプリで設定する】
- 【WEBページで設定する】(上級者向け)
の2種類から選べます。
 けー
けー僕は【アプリで設定する】でやってみます!
WEBの上級者向けっていうのも心配なので笑
アプリで設定する方法
先程のメールのリンクをタップしてApp Storeから「LINEMO かんたんeSIM開通」をインストールする
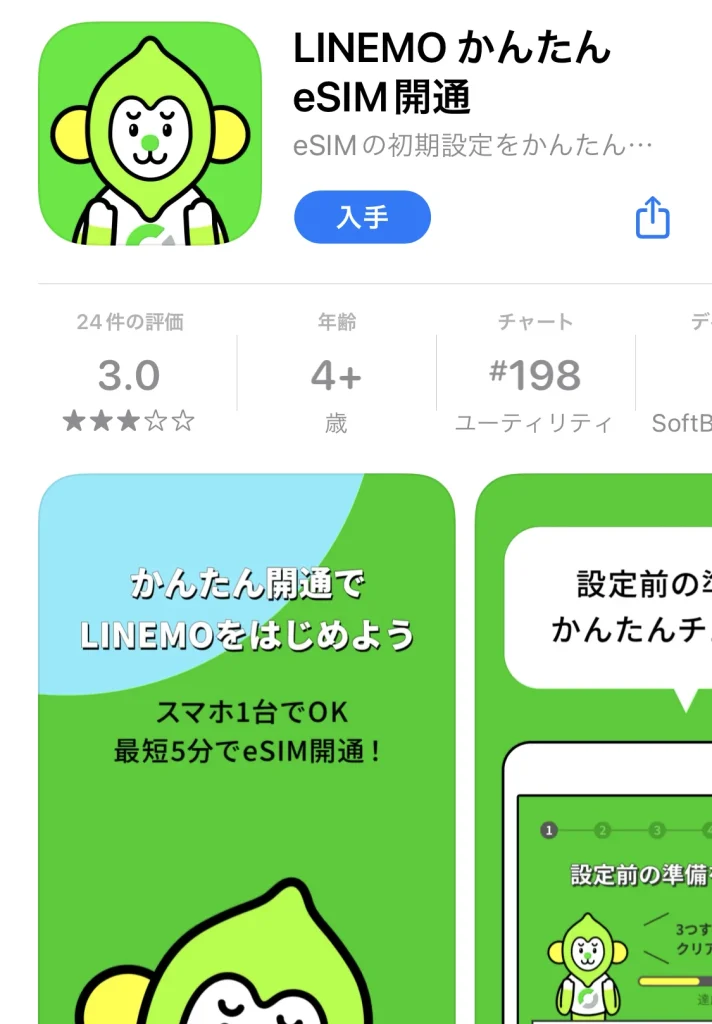
入手をタップ
iPhoneにアプリがインストールされました。
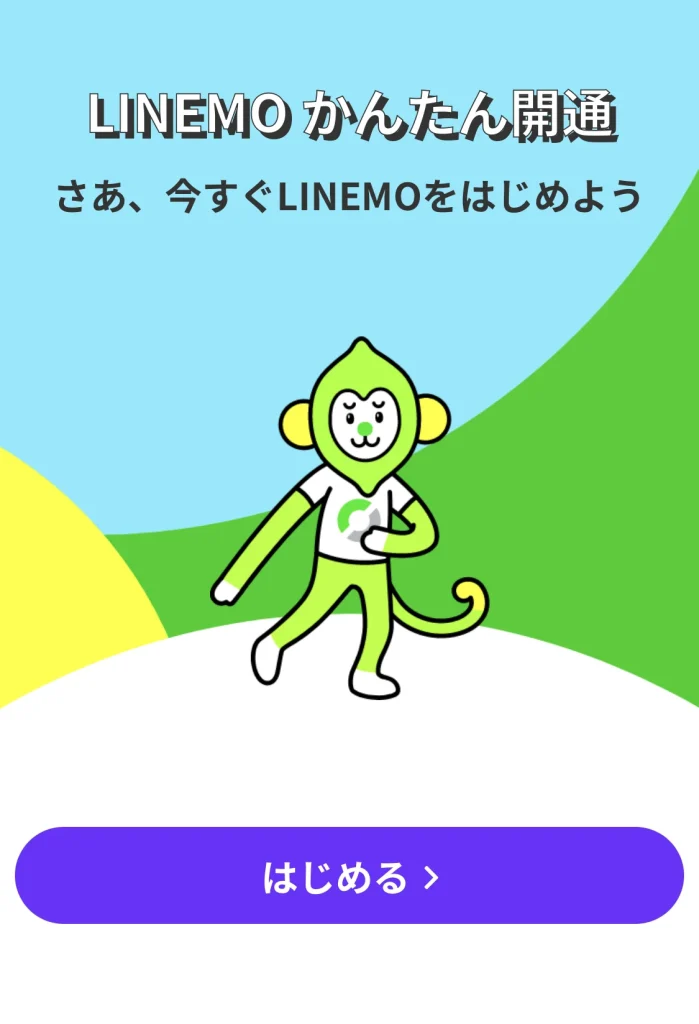
「はじめる」をタップ
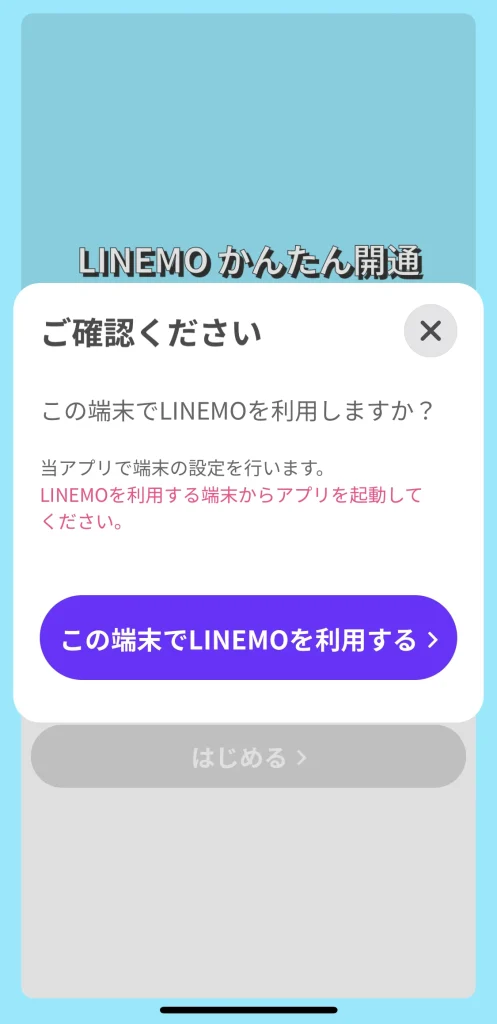
「この端末でLINEMOを利用する」をタップ
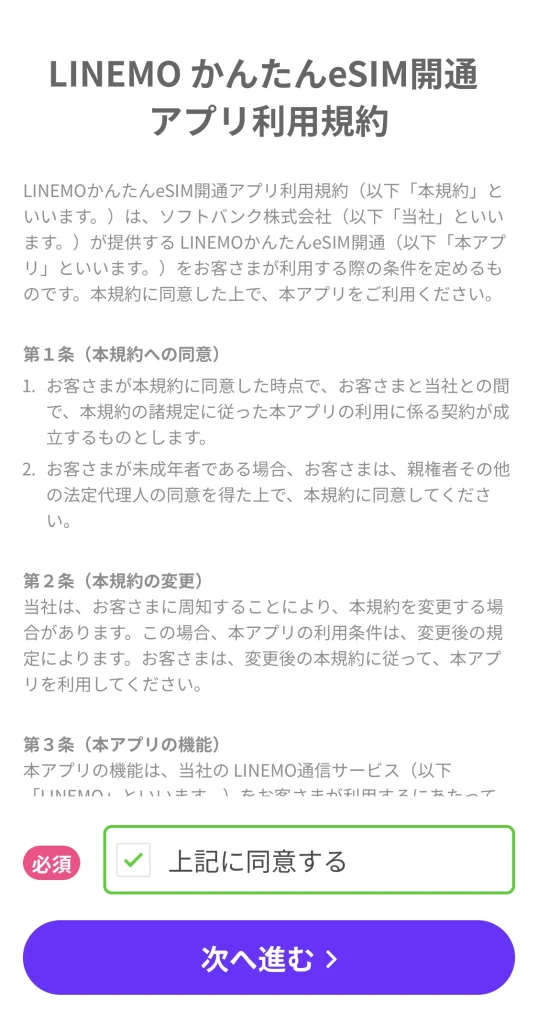
利用規約が表示されるので、チェックを入れてから「次に進む」をタップ
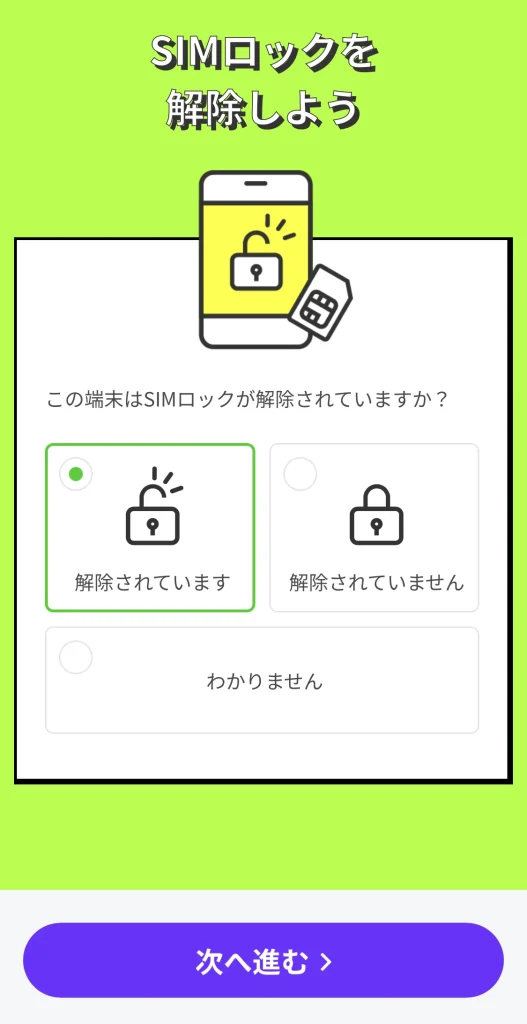
僕は解除されている機種(Appleで購入したiPhone12mini)なのでこのまま進みました。
解除されていますを選択して、「次に進む」をタップ
3つの確認事項が表示されているので、ひとつずつ確認していきます。
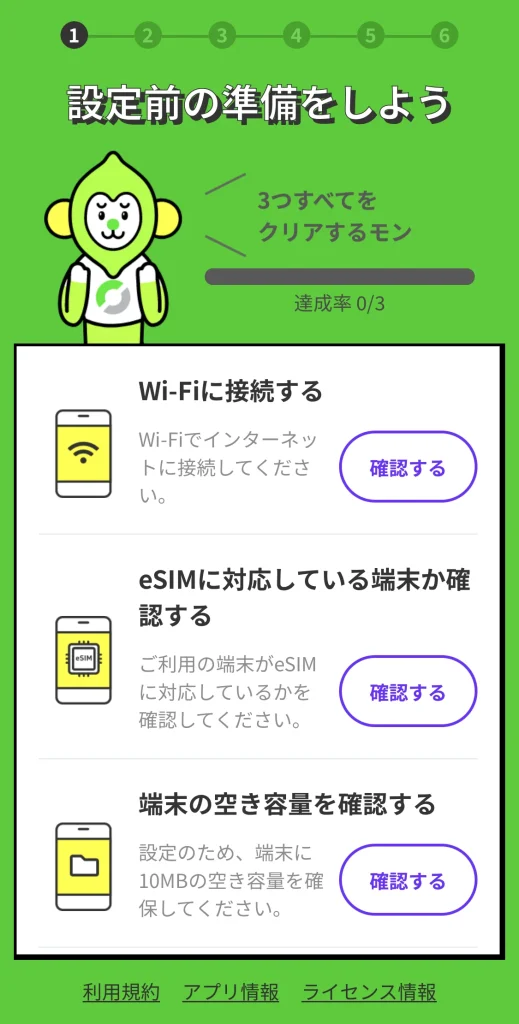
「確認する」を順番にタップするとクリアになるので、「次に進む」をタップ
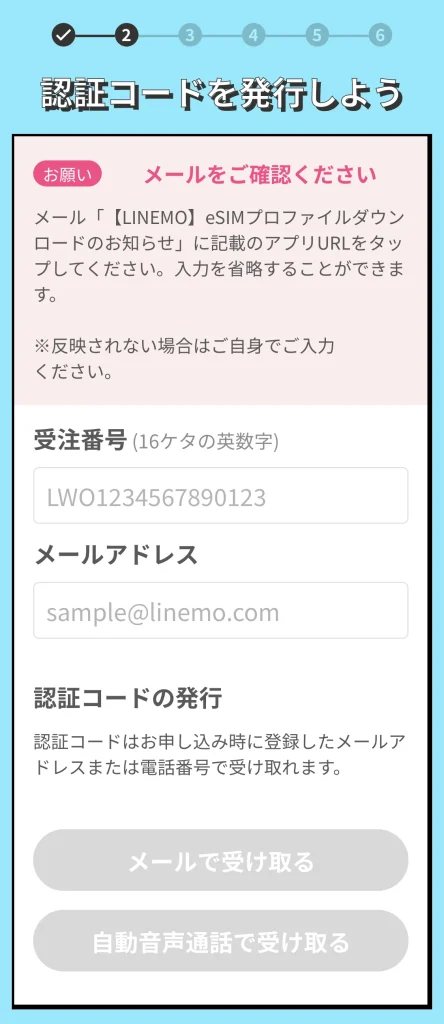
「メールをご確認ください」と言われるので、さっきの手続き完了メールに戻りURLを再度タップします。
すると自動で入力されています。(自分で入力も可)
認証コードの受け取り方法は2つから選べる!
- メールで受け取る
- 自動音声通話で受け取る
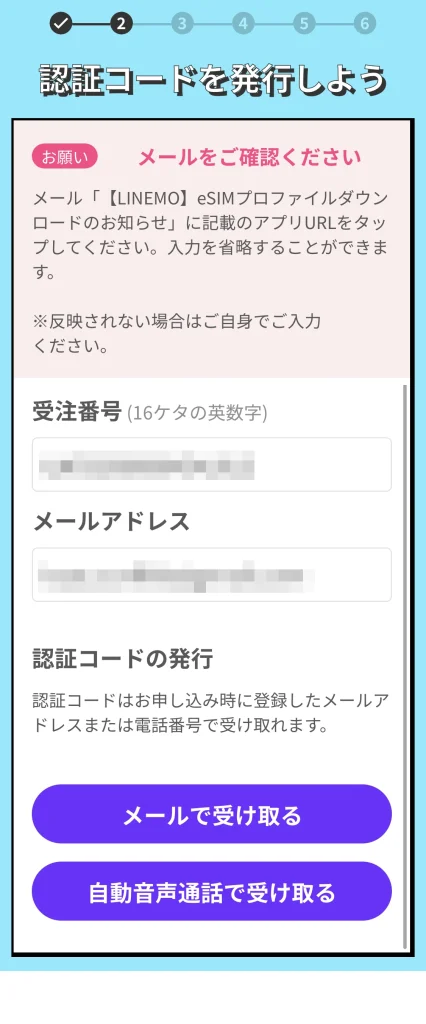
僕は「メールで受け取る」にしました。
タップをすると「認証コード入力画面」になります。
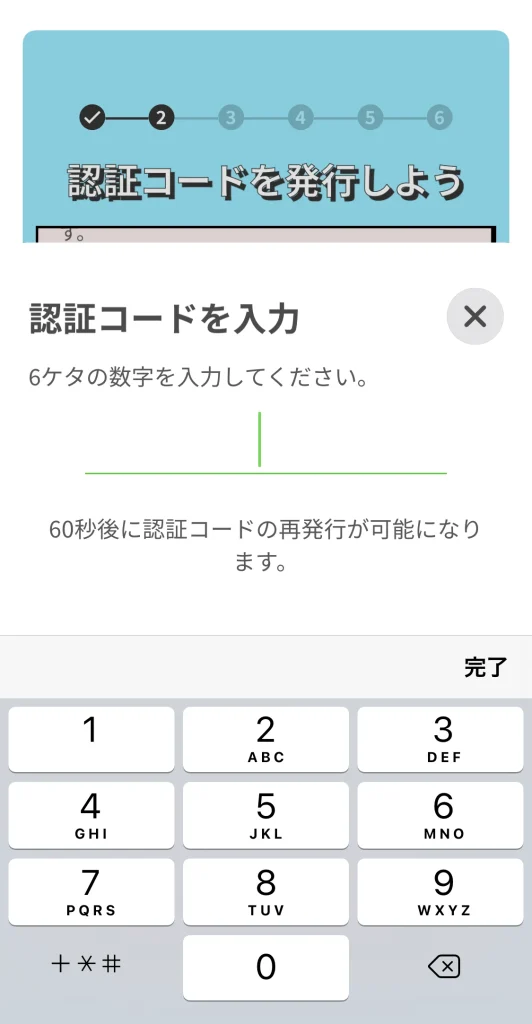
メールに認証コードが送ら入れているので、コピーしてアプリの認証コードの箇所にペーストします。
eSIMの設定をしていきます。
注意点
受付時間が9:00~20:30です。時間外の場合は翌日にしましょう。
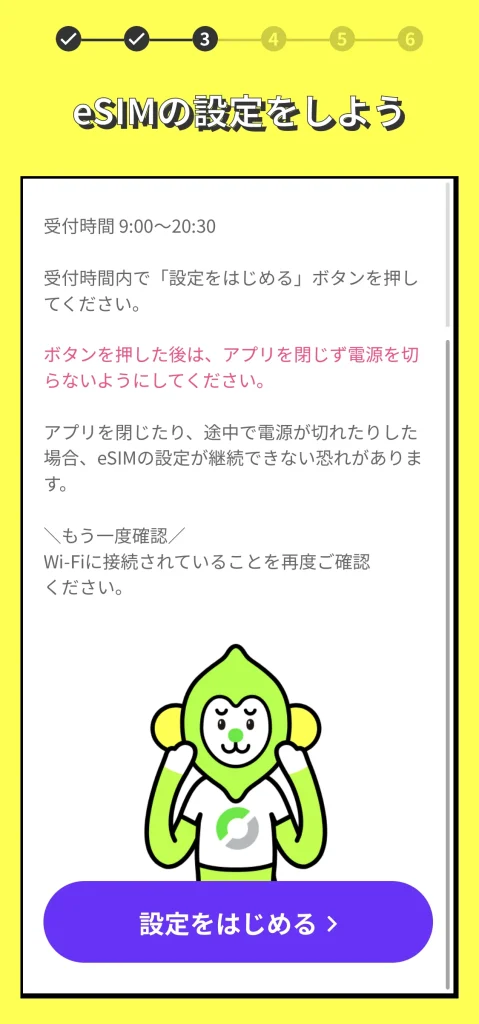
「設定をはじめる」をタップ
「続ける」をタップ

「モバイル通信プランを追加」をタップ

プランの名称を選択します。※両方の名称を同じにすることはできませんでした。
上が今までの回線(LINEモバイル)、下が新しい回線(LINEMO)です。
「続ける」をタップ
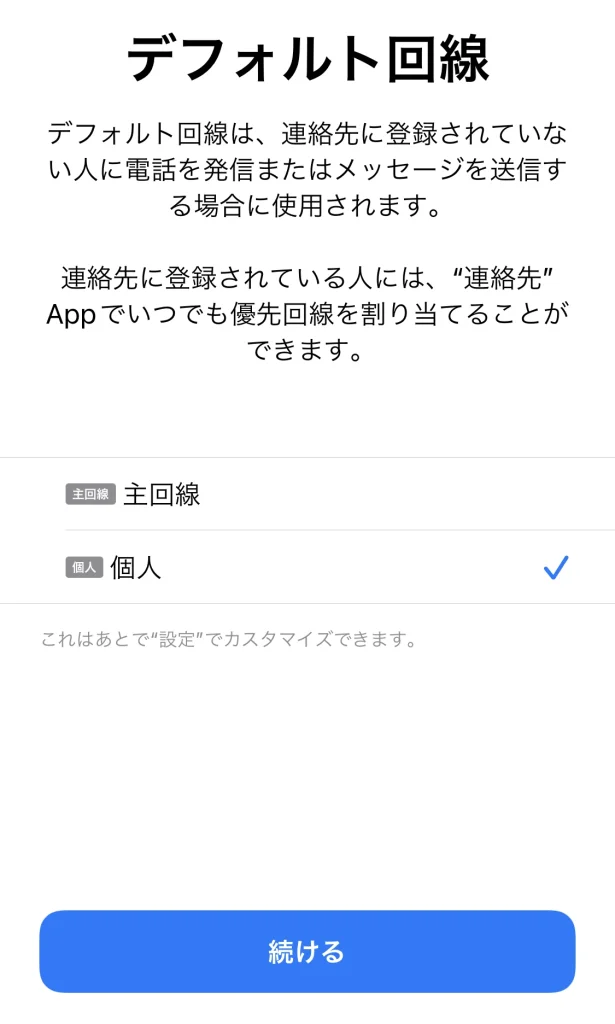
デフォルト回線を選ぶ。(あとで変更もできます)
僕はデフォルトは新しい「LINEMO」にしました。
「続ける」をタップ
iMessageとFaceTimeの回線を選ぶ
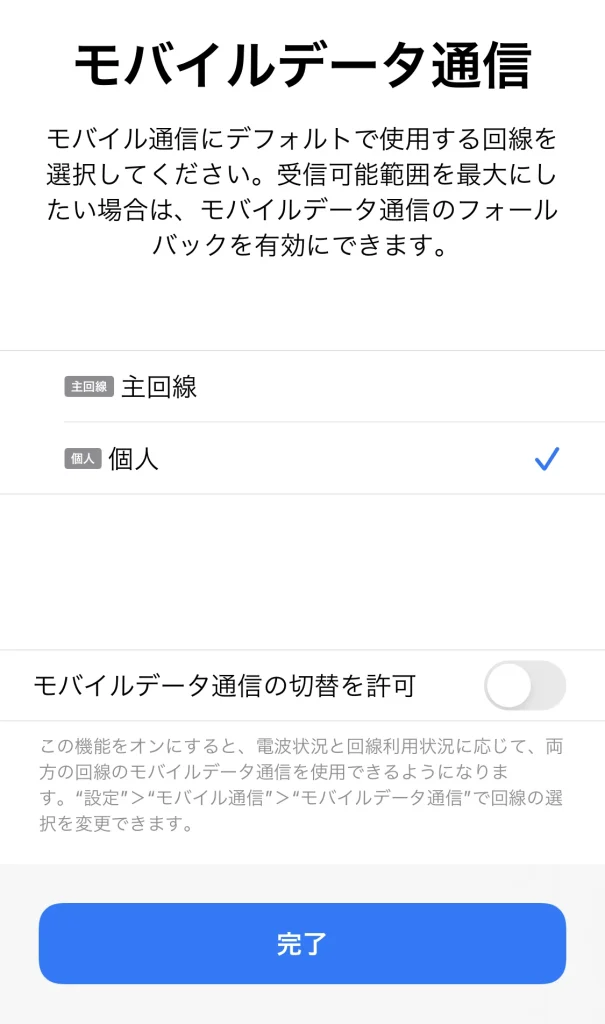
モバイルデータ通信の選択
「モバイルデータ通信の切替を許可」をONにすると状況に合わせて両方の回線を使用できるようになりますが、今回は前の回線を使うことはないのでOFFのままです。
「完了」をタップ
タップした瞬間!ここで問題発生!
アプリが落ちてしまいました。
アプリに再度設定をしようとしても先に進めません!
仕方なくLINEMOのサポートにチャットで操作を聞きました。
チャットサポートで続きを進める
LINEMOのサイトでサポートチャットに進みました。とても親切な対応と的確な指示で難なく完了!
現在の状況を確認するためにスマホの情報を伝えます。
「設定」や「一般」の箇所のiPhone情報、その他機種や以前の契約情報などです。
内容を伝えるとすぐに「最後の回線の切り替えが終わっていない可能性がある」との事。早速順番にやってみます。
まずは、申し込みした後に届いた「【LINEMO】eSIMプロファイルダウンロードのお知らせ」を確認します。
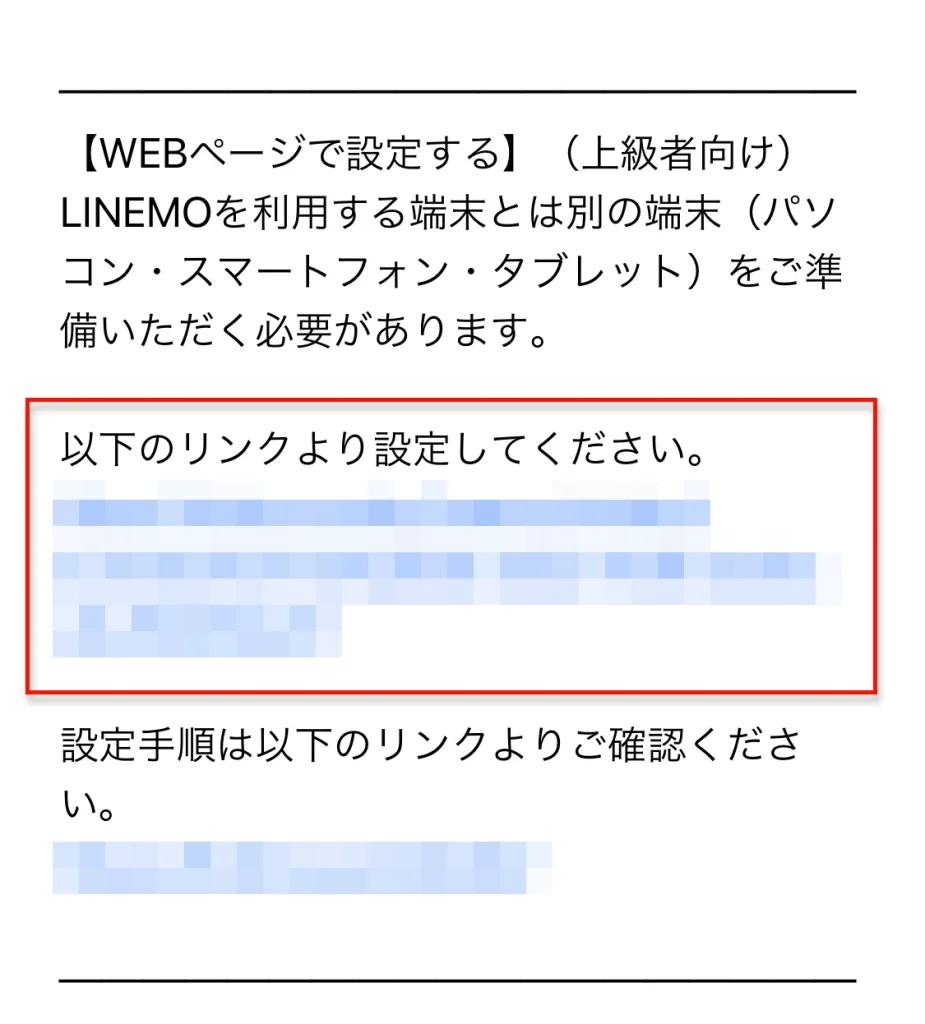
以下のリンクより設定してください。のリンクをタップします。

画面が変わったら下の方へスクロールして、必ずご確認くださいのチェックを入れます。
本人認証のための電話番号を入力後にワンタイムパスワードを受け取ります。
これも「メール」「電話」の2種から選べます。
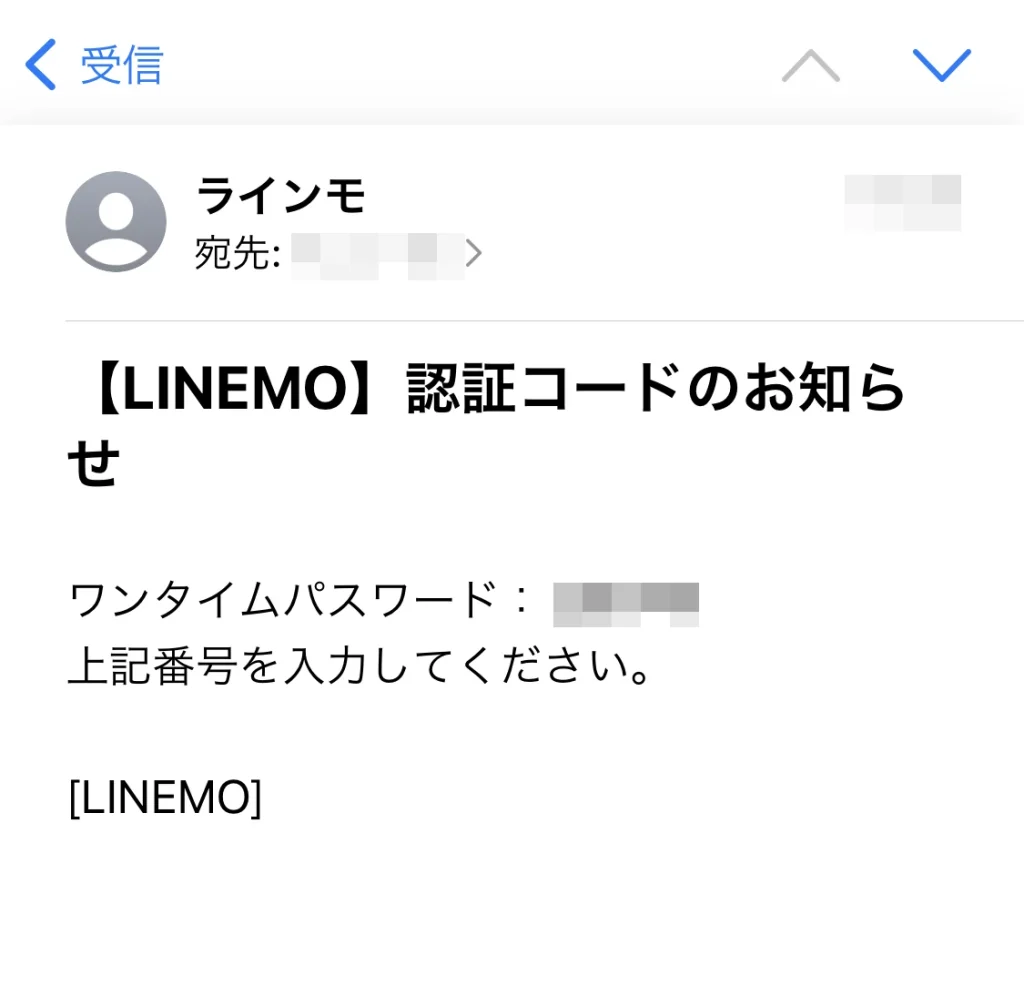
メールに届いたワンタイムパスワードを入力するとQRコードを読み取るの画面に移動します。
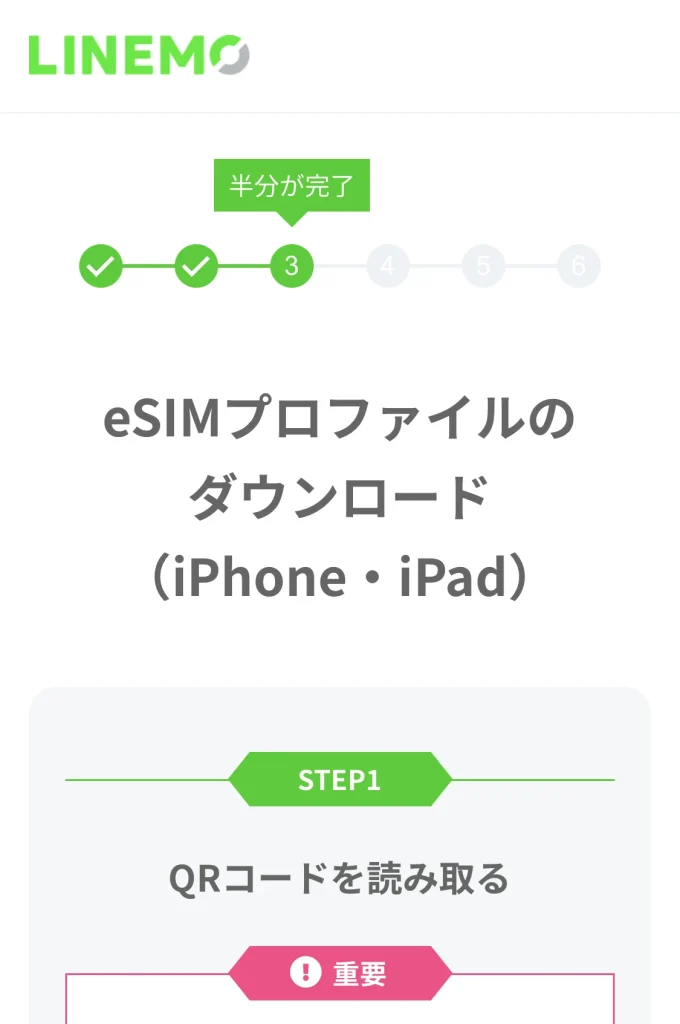
しかしこのページのQRコードは無視して一番下までスクロールします。
※このQRコードはプロファイルのダウンロード用です。アプリの操作でここまでは終わっているので不要です。
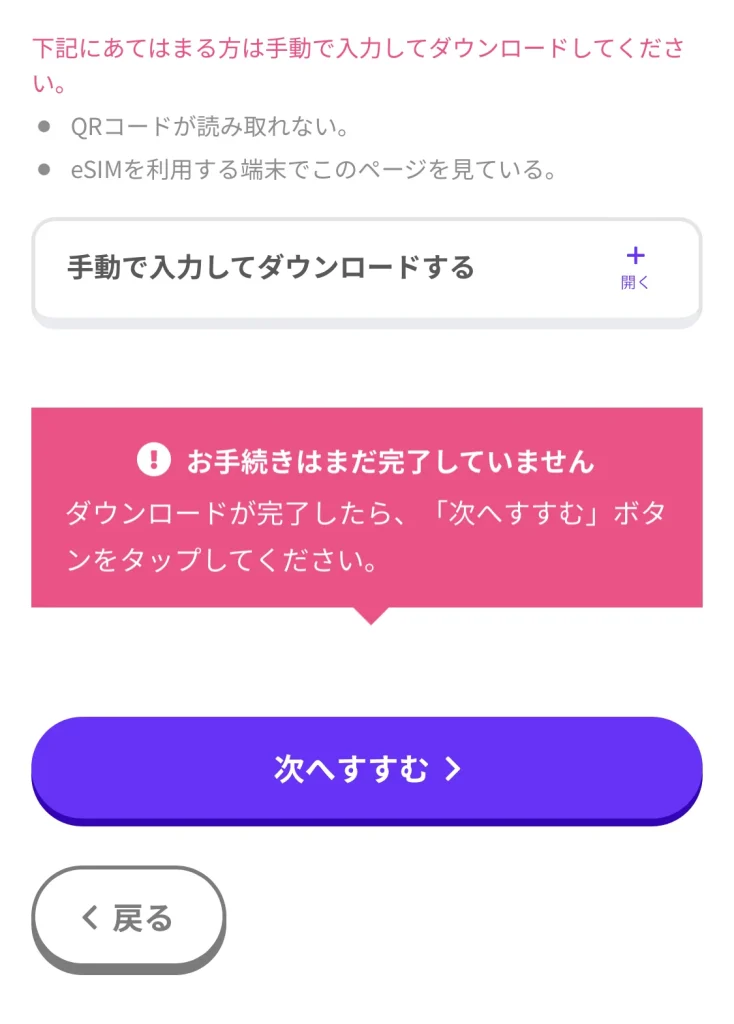
「次へすすむ」をタップ
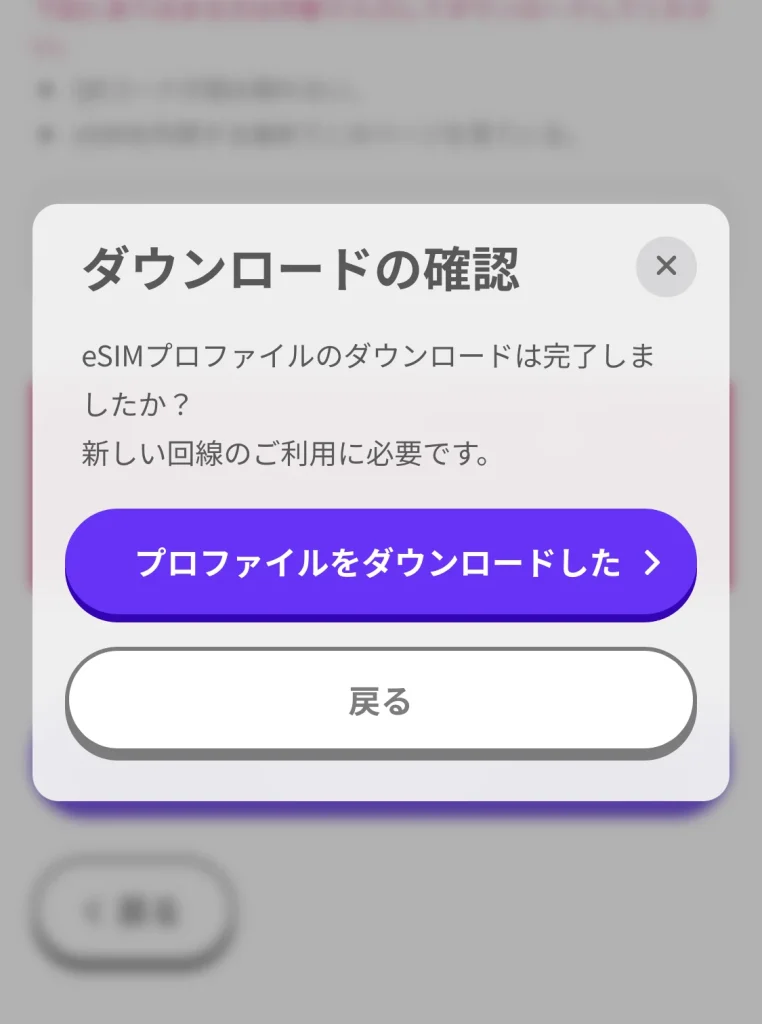
プロファイルはダウンロードされているので「プロファイルをダウンロードした」をタップ
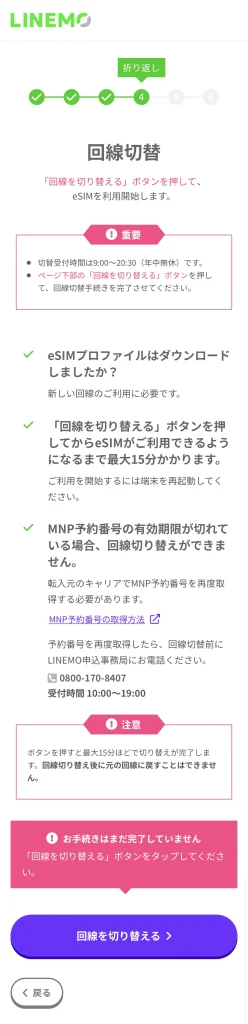
ここで回線の切り替えをします。
「回線を切り替える」をタップ
以上で回線の切り替えが完了しました。
iPhone 12 miniでの作業
iPhoneでの作業は「再起動だけ」でした。
いったん電源を落として、再度電源を入れる。
その後Wi-Fiを切ってモバイルデータ通信の状態でネット接続できるか確認するだけ!
 けー
けー今まで自宅だと「4G」だったのに「5G」になってた!!!
まとめ
途中でアプリのエラーでつまずいたけど、その後は問題なくLINEMOに移行することができました。
今回の移行をまとめると
- eSIMは時間帯を考えて作業すれば即日移行できる(夜間の対応ができないため)
- それほど難しいことはなかった
- アプリが落ちるのは困ったがサポートチャットが的確
- LINEMOは安い!
eSIMは上級者向けと書いてありましたが、手順通りに進めれば簡単に進める事ができるという感じです。
SIMだと郵送で届くの待つのにも時間がかかりますしね。
今後LINEMOへMNPで乗り換える方の参考になると幸いです!